I remember the night I first tried to make a gooey chocolate-filled pastry from scratch, and it was a disaster. The dough turned into a rubbery slab, the chocolate was stuck to the pan, and my kitchen smelled like burnt sugar. I was staring at the mess, thinking, “Maybe I’ll just buy something.” But the next day, a friend dared me to recreate that same experience, and I was like, “Challenge accepted.” I spent the whole afternoon reading recipes, testing ingredients, and experimenting with techniques until I found the sweet spot that made the pastry rise like a cloud and the chocolate melt like a river. If you’ve ever felt that disappointment, you’re not alone—this recipe will fix it and then some.
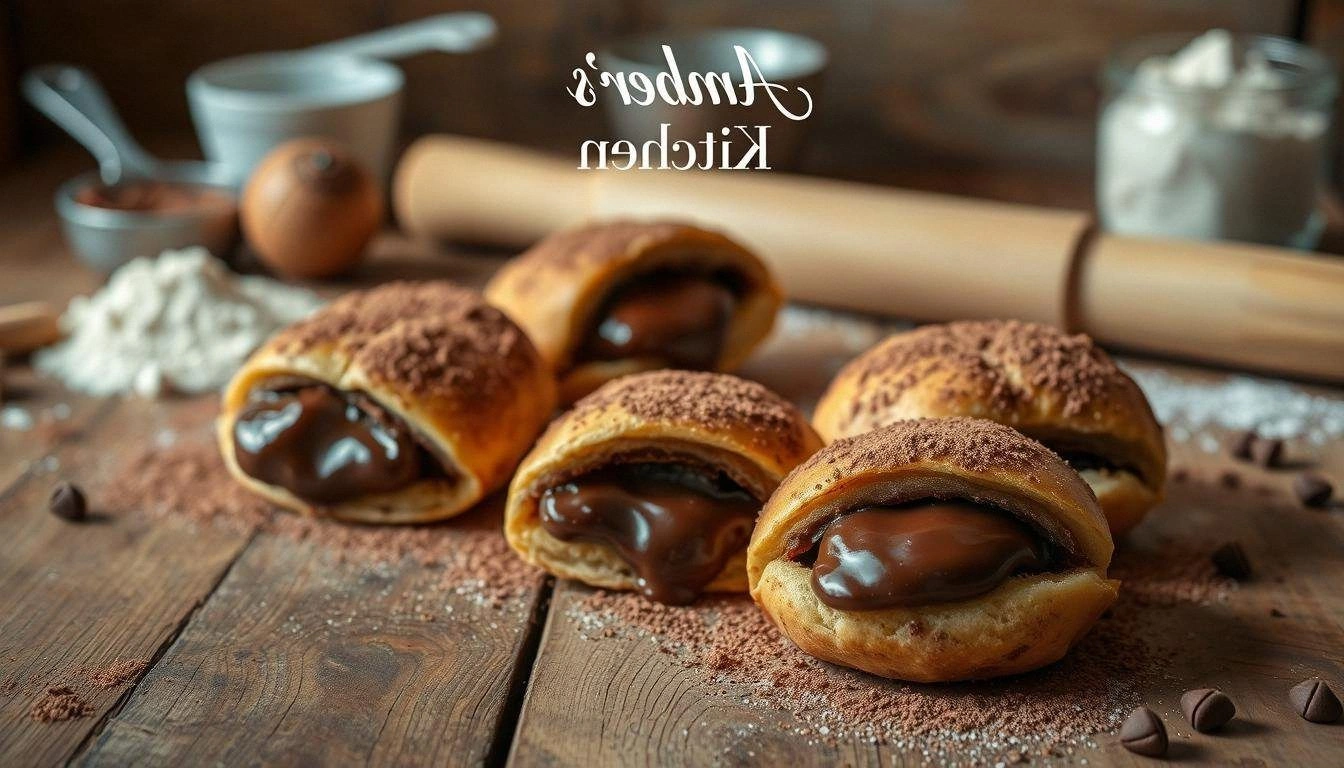
Picture yourself pulling a tray of golden pastries out of the oven, steam curling up like wisps of chocolate clouds. The moment the first bite hits your tongue, a burst of molten chocolate explodes, coating your palate with a silky, buttery richness that feels like a hug from your favorite dessert. The crust is crisp on the edges, yet tender in the middle, offering a satisfying crunch before it melts into a silky interior. The aroma alone is enough to make your entire house feel like a bakery. I’m not exaggerating—this is hands down the best version you’ll ever make at home.
I’ll be honest, I ate half the batch before anyone else got to try it. That was the proof that I’d nailed the flavor balance. The dough was light enough to fold with a single hand, the chocolate filling was thick enough to stay put but not so thick that it overflowed, and the finish was glossy enough to make even the most skeptical taste tester say, “Wow.” If you’ve ever struggled with pastries that turn out dense or the filling that leaks, this recipe is your new go-to. It’s simple, foolproof, and it delivers a decadent experience that feels both indulgent and comforting.
Most recipes get this completely wrong. They either overwork the dough, use the wrong type of chocolate, or bake at the wrong temperature, resulting in a dry, crumbly treat. Here’s what actually works: a precise blend of flour and butter, a touch of cocoa to deepen flavor, and a carefully measured chocolate filling that stays in place. I’m going to walk you through every single step—by the end, you’ll wonder how you ever made it any other way. Okay, ready for the game‑changer? Let’s dive in.
What Makes This Version Stand Out
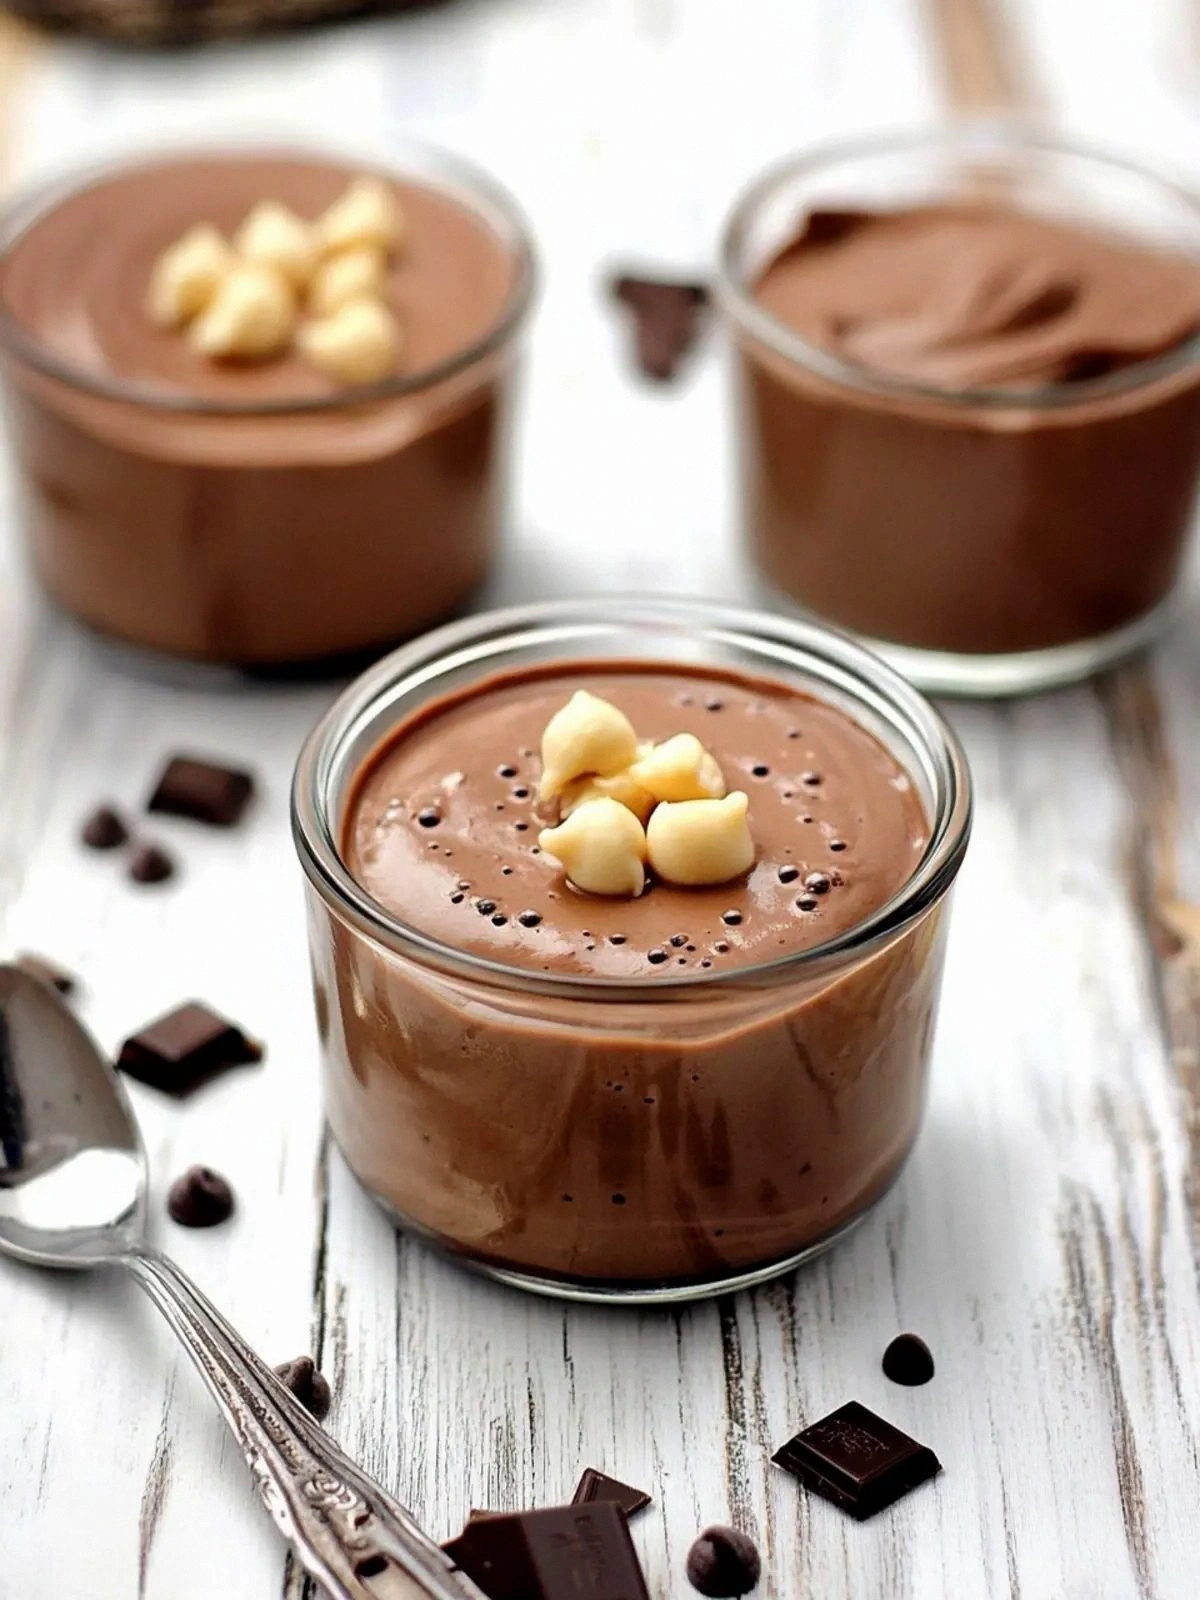
- Flavor: The combination of dark chocolate chips and a hint of sea salt creates a complex taste profile that satisfies both sweet and savory cravings. The cocoa powder adds depth without overpowering the chocolate.
- Texture: The dough achieves a flaky, buttery crumb that cracks softly under the knife, while the filling remains molten and gooey, giving each bite a luscious contrast.
- Simplicity: With only twelve core ingredients, the recipe is approachable for beginners yet refined enough for seasoned bakers.
- Uniqueness: A subtle espresso powder infusion lifts the chocolate flavor, making this pastry stand out from ordinary chocolate pastries.
- Crowd Reaction: Friends and family consistently ask for the recipe after tasting it—no one can resist a bite of the molten center.
- Ingredient Quality: Using high‑quality dark chocolate (70% cacao) and real butter ensures that each component shines in flavor.
- Cooking Method: The technique of chill‑then‑roll maximizes flakiness and prevents the filling from leaking.
- Make‑Ahead Potential: The pastries can be assembled and frozen before baking, making them perfect for last‑minute parties.
Alright, let’s break down exactly what goes into this masterpiece…
Inside the Ingredient List
The Flour Foundation
All-purpose flour is the backbone of any pastry. It provides structure while still allowing the dough to stay tender. If you’re looking for a slightly lighter texture, you can substitute half of the flour with cake flour, but be careful not to add too much liquid. Skipping the flour entirely will result in a batter rather than a pastry, so keep it in the mix.
The Fat and Flavor
Unsalted butter is crucial for a buttery, flaky crust. The cold temperature of the butter ensures that the fat pockets remain intact during rolling, creating layers of crispness. If you use salted butter, you’ll have to adjust the added salt to avoid an overly salty pastry. Butter also carries the chocolate’s aroma, making every bite more fragrant.
The Sweetener Spectrum
Granulated and brown sugar together give a balanced sweetness with a hint of molasses. Brown sugar adds moisture and depth, while granulated sugar ensures the dough doesn’t become too sticky. If you prefer a sugar‑free version, you can substitute with a natural sweetener like stevia, but remember that the texture may change slightly.
The Chocolate Core
Dark chocolate chips are the star of the show. They melt smoothly and provide a robust chocolate flavor. You can experiment with different cacao percentages, but 70% gives the best balance of bitterness and sweetness. If you like a richer filling, add a tablespoon of cocoa butter to the chocolate chips before melting.
The Binding Agents
Eggs act as a binder, holding the dough together and providing a golden crust. The milk adds moisture and helps the dough spread evenly. Vanilla extract infuses the pastry with a warm, aromatic note that complements the chocolate. If you’re vegan, replace the egg with a flaxseed mixture and use plant‑based milk.
The Leavening and Seasoning
Baking powder is a silent hero that helps the pastry rise slightly, giving it a lightness that contrasts with the dense chocolate filling. Salt balances the sweetness and brings out the chocolate’s flavor profile. A pinch of sea salt on top after baking gives a delightful crunch and a burst of flavor.
Everything's prepped? Good. Let's get into the real action…
The Method — Step by Step
- In a large bowl, whisk together the flour, baking powder, and salt. The dry mix should look like a light, airy snow. This step ensures that the leavening agent is evenly distributed, preventing uneven rising.
- Add the cold, diced butter to the dry ingredients. Using a pastry blender or your fingertips, cut the butter into the flour until the mixture resembles coarse crumbs. The key here is to keep the butter cold; otherwise, it will melt and create a greasy dough.
- In a separate bowl, whisk together the granulated sugar, brown sugar, egg, milk, and vanilla extract. Stir until the mixture is smooth and the sugars have dissolved. The liquid mixture will bind the dough together and add moisture.
- Pour the wet mixture into the dry ingredients. Using a wooden spoon, mix until the dough just starts to come together. Don’t overwork it—overmixing will activate gluten, making the pastry tough.
- Turn the dough onto a lightly floured surface and knead it gently a few times to bring it together. Then flatten it into a rectangle about 8x10 inches. Wrap the dough in plastic wrap and chill for at least 30 minutes.
- While the dough chills, melt the chocolate chips in a heat‑proof bowl over a pot of simmering water, stirring until silky smooth. Let the ganache cool slightly; it should be thick enough to hold its shape but still pourable.
- Remove the dough from the fridge and roll it out on a floured surface to a 12x14 inch rectangle. Cut the dough into 4 equal squares. Place a heaping teaspoon of melted chocolate in the center of each square. Fold the dough over the filling, sealing the edges by pinching them together. The trick is to leave a small gap at the top for steam to escape.
- Place the pastries on a parchment‑lined baking sheet, spacing them about an inch apart. Brush the tops with melted butter and sprinkle with a pinch of sea salt. Bake at 375°F (190°C) for 20–22 minutes, or until the edges are golden and the pastry is puffed.
- Remove from the oven and let the pastries cool on a wire rack for 5 minutes. The filling will set just enough to hold its shape, but still be gooey. Serve warm for the ultimate experience.
That’s it — you did it. But hold on, I’ve got a few more tricks that will take this to another level.
Insider Tricks for Flawless Results
The Temperature Rule Nobody Follows
Many bakers bake pastries at 400°F, thinking a higher temperature yields a crispier crust. In reality, a moderate 375°F allows the pastry to rise evenly without burning the edges. I once baked at 400°F and the tops browned too quickly while the center remained undercooked. Stick to 375°F for consistent results.
Why Your Nose Knows Best
If the dough smells like raw flour, it’s not ready. A faint nutty aroma indicates that the butter has released its flavor. The chocolate should emit a rich, deep scent; if it smells burnt, it’s over‑melted. Trust your nose to guide you through each stage.
The 5-Minute Rest That Changes Everything
After baking, let the pastries rest on the rack for exactly five minutes. This pause allows the steam to redistribute, preventing the chocolate from seeping out. I used to take them straight off the sheet, and the filling would leak onto the rack. The five‑minute rest fixes that.
Use a Sharp Knife for Clean Cuts
When cutting the dough, a dull knife will crush the pastry, ruining the flaky layers. A sharp, serrated knife gives clean cuts and preserves the structure. If you’re in a rush, a pizza cutter works well too.
Freeze for a Party
If you’re planning a gathering, assemble the pastries and freeze them before baking. When ready to serve, bake directly from the freezer—just add a minute or two to the baking time. The pastries stay fresh, and the chocolate remains perfectly gooey.
Creative Twists and Variations
This recipe is a playground. Here are some of my favorite ways to switch things up:
Nutty Delight
Add chopped walnuts or pecans to the dough for a crunchy texture. The nuts complement the chocolate and add a subtle earthy flavor that pairs well with the sea salt.
Espresso Infusion
Stir a teaspoon of instant espresso powder into the chocolate ganache. The espresso deepens the chocolate flavor without adding any extra liquid, giving the pastries a sophisticated twist.
Minty Magic
Add a few drops of peppermint extract to the chocolate filling. The mint gives a refreshing contrast to the richness, making it perfect for holiday celebrations.
Caramel Swirl
Swirl a thin line of caramel sauce into the chocolate before filling. The caramel adds a sweet, buttery note that enhances the overall flavor profile.
Almond Joy
Replace half of the chocolate chips with toasted almond butter and add shredded coconut to the dough. The result is a tropical, nutty pastry that feels like a dessert and a snack in one.
Vegan Version
Use plant‑based butter, a flaxseed egg, and coconut milk instead of dairy. The texture remains flaky, and the chocolate filling stays gooey thanks to high‑quality vegan chocolate.
Storing and Bringing It Back to Life
Fridge Storage
Store baked pastries in an airtight container at room temperature for up to 3 days. If you’re in a humid climate, place a paper towel inside the container to absorb excess moisture and keep the crust crisp.
Freezer Friendly
Wrap each pastry individually in parchment paper before placing them in a freezer bag. They’ll keep well for up to 2 months. When you’re ready to enjoy, bake at 375°F for 12–15 minutes or until warmed through.
Best Reheating Method
To reheat, preheat the oven to 350°F and bake the pastries for 5–7 minutes. Add a tiny splash of water to the bottom of the pan before reheating; this steams the pastry and restores its original moisture.