I was standing in my kitchen, staring at a pile of onions that had been left to sit in the fridge for days, their skins peeling back like a tired mask. I had been craving something sweet, something comforting, and the thought of caramelizing them with butter and olive oil hit me like a revelation. The kitchen smelled like a promise, the air thick with the scent of onions about to transform into a golden, almost liquid caramel. That moment of culinary epiphany was the spark that turned a mundane ingredient into the star of this dip.
Picture the moment you open the pan, the onions sizzle, and the butter melts into a glossy pool that coats every slice. The sound is a gentle hiss, a low rumble that tells you the caramelization is in full swing. As the onions slowly turn a deep amber, their edges soften like velvet, and the aroma becomes a sweet, buttery perfume that fills the entire kitchen. This isn’t just a dip; it’s a sensory journey that starts with a single pan and ends with a crowd begging for seconds.
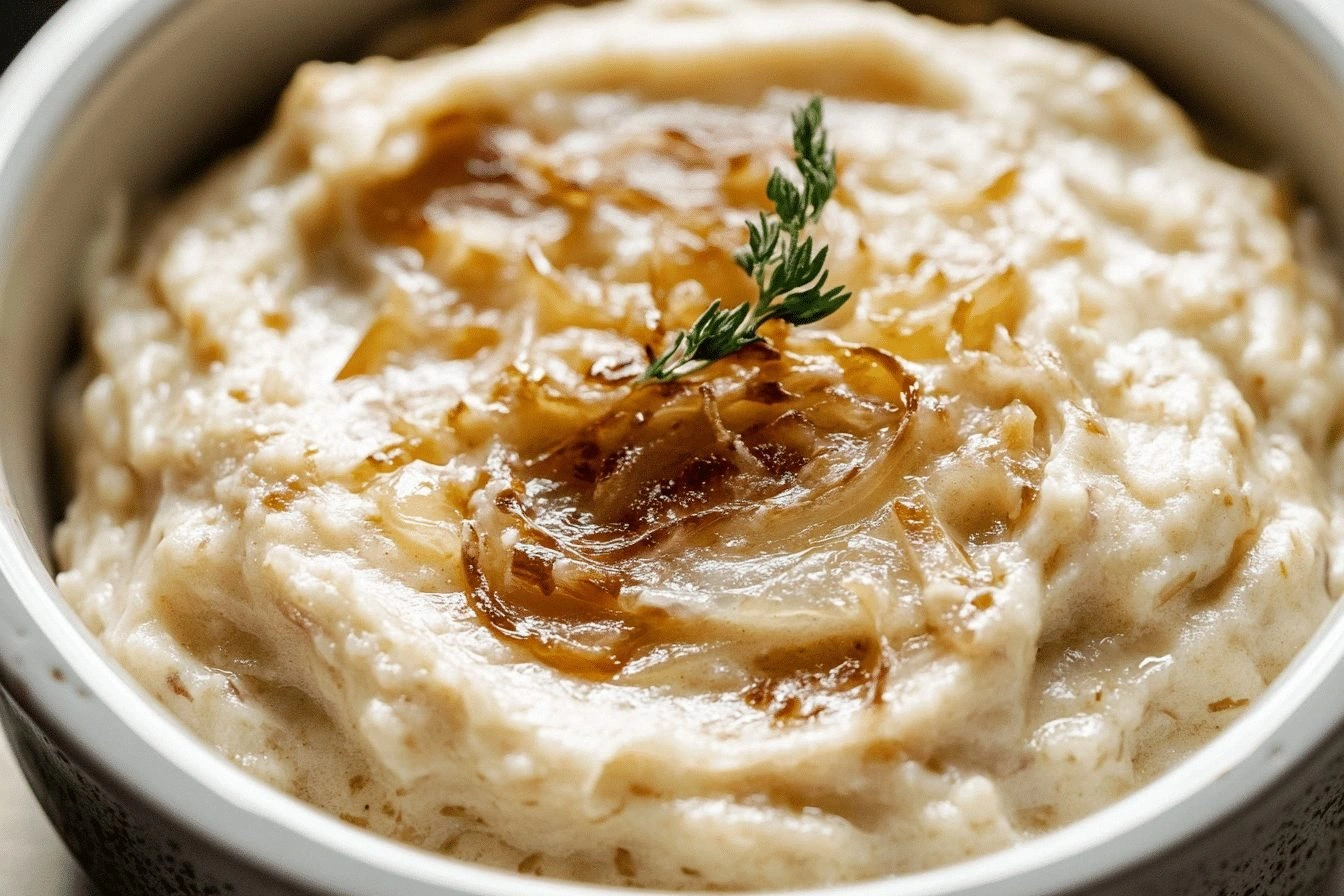
What makes this version stand out is that it’s not just about sweetness. The blend of sour cream and mayonnaise creates a creamy base that balances the caramel's richness, while fresh thyme brings a subtle earthiness that cuts through the fat. The garlic adds a mild punch that elevates the flavor profile, and the olive oil prevents sticking while adding a clean finish. The result is a dip that is silky, tangy, and utterly irresistible—hands down the best version you'll ever make at home.
I dare you to taste this and not go back for seconds. I’ll be honest—once I made the first batch, I ate half before anyone else had a chance. Most recipes get this completely wrong, either overcooking the onions or underseasoning the mixture. Here’s what actually works: a low, steady heat, a splash of olive oil, and patience. Picture yourself pulling this out of the oven, the whole kitchen smelling incredible, and the dip shimmering with a glossy sheen that invites everyone to dig in. Stay with me here—this is worth it.
What Makes This Version Stand Out
- Taste: The caramelized onions deliver a sweet, buttery depth that balances the tang of sour cream and the richness of mayonnaise. This harmony makes each bite a perfect blend of sweet and savory.
- Texture: The onions become silky and slightly chewy, while the creamy base offers a smooth, almost velvety mouthfeel. The result feels luxurious without being heavy.
- Simplicity: With just eight ingredients, this dip is straightforward to prepare, yet it delivers a complex flavor profile that feels gourmet.
- Uniqueness: The addition of fresh thyme and a splash of olive oil elevates the dish beyond a standard onion dip, giving it a distinctive herbal note.
- Crowd Reaction: Guests often comment on how the dip is “the most unexpected thing on the table” and ask for the recipe immediately.
- Ingredient Quality: Using fresh, high‑quality sweet onions and real butter makes the difference between a good dip and a great one.
- Cooking Method: Slow caramelization on low heat ensures even browning and prevents burning, unlocking the onions’ natural sugars.
- Make‑Ahead Potential: This dip can be prepared a day in advance; the flavors deepen overnight, making it even more delicious.
Inside the Ingredient List
The Flavor Base
Sweet onions: These are the heart of the dip. They provide a natural sweetness that becomes caramelized when cooked slowly. Skipping them would strip the dip of its signature flavor and leave it bland.
Butter: Butter adds richness and helps the onions caramelize beautifully. If you use margarine or a plant‑based butter, the flavor will be less complex, and the dip may not have the same silky finish.
The Texture Crew
Sour cream: Sour cream introduces a cool, tangy base that balances the sweetness of the onions. It also gives the dip a creamy consistency that coats the palate. If you prefer a dairy‑free version, Greek yogurt can be an excellent substitute.
Mayonnaise: Mayonnaise adds a luxurious creaminess and a slight richness that prevents the dip from being too watery. If you want a lighter version, replace it with a small amount of Greek yogurt or a vegan mayo.
The Unexpected Star
Fresh thyme: Thyme brings an earthy herb note that cuts through the richness of the butter and mayonnaise. It also adds a subtle aroma that elevates the dip to a gourmet level. A pinch of dried thyme can substitute if fresh isn’t available, but the flavor will be less vibrant.
The Final Flourish
Garlic: Garlic adds a mild punch of aromatic flavor that complements the sweetness. If you’re sensitive to garlic, reduce the amount or omit it entirely; the dip will still be delicious.
Olive oil: Olive oil helps prevent sticking while gently cooking the onions to perfection. It also adds a subtle fruity undertone that brightens the dip.
Salt and pepper: Essential for seasoning and bringing all elements together perfectly. Skipping salt will result in a flat flavor profile, while too much pepper can overpower the delicate balance.
Everything's prepped? Good. Let's get into the real action...
The Method — Step by Step
- Prepare the onions: Slice the sweet onions thinly into rings. The thinner the slices, the faster they caramelize and the more surface area they expose to the pan. I recommend a mandoline for uniformity. This step ensures even cooking and a consistent texture.
- Heat the pan: Place a large, heavy‑bottomed skillet over medium heat and add a tablespoon of olive oil. Allow the oil to shimmer but not smoke. This initial heat sets the stage for the onions to cook evenly. If the oil starts to smoke, lower the heat immediately.
- Introduce the butter: Add two tablespoons of cold butter to the pan. Let it melt slowly, swirling the pan to coat all the onions. The butter will infuse the onions with a rich flavor and help them brown without burning. Watch for the butter to turn a light golden hue.
- Caramelize the onions: Add the sliced onions to the pan and stir to coat them in the butter and oil. Reduce the heat to low, cover the pan with a lid, and let the onions cook for about 15 minutes, stirring every 5 minutes. The onions should release water, then gradually brown and thicken into a caramel. The aroma at this point is intoxicating.
- Watch the color: When the onions are a deep amber and the edges start pulling away from the pan, they’re ready. This is the moment of truth. If they’re still pale, give them a few more minutes. A well‑caramelized onion is the foundation of this dip.
- Cool slightly: Remove the pan from heat and let the onions cool for about 5 minutes. The residual heat will finish the caramelization process, ensuring a smooth, glossy finish. This step also prevents the dip from becoming too hot when you mix in the dairy.
- Blend the creamy base: In a bowl, combine one cup of sour cream, half a cup of mayonnaise, one minced garlic clove, and one tablespoon of fresh thyme. Whisk until the mixture is silky and uniform. This base will carry the caramelized flavor throughout the dip.
- Combine and season: Gently fold the cooled onions into the creamy mixture. Add a teaspoon of salt and half a teaspoon of black pepper. Taste and adjust seasoning as needed. The salt enhances the sweetness, while the pepper adds a subtle bite.
- Refrigerate: Cover the bowl with plastic wrap and refrigerate for at least 30 minutes before serving. This allows the flavors to meld and the dip to thicken slightly. The dip will taste even better after resting.
That's it — you did it. But hold on, I've got a few more tricks that'll take this to another level...
Insider Tricks for Flawless Results
The Temperature Rule Nobody Follows
Keeping the heat low is essential. A common mistake is to cook onions on high, which causes them to steam rather than caramelize. Use a thermometer to keep the pan around 250°F (120°C). This ensures a slow, even browning that brings out the onions’ natural sugars.
Why Your Nose Knows Best
Before you stir the onions, pause and inhale. The scent of caramelized onions is a reliable indicator of readiness. If it smells buttery and sweet, you’re on the right track. Trust your nose; it’s the best judge of flavor.
The 5‑Minute Rest That Changes Everything
Letting the onions rest after cooking allows the heat to redistribute, preventing hot spots and ensuring a uniform texture. A short 5‑minute rest also lets the onions absorb the butter and oil, deepening the flavor profile.
The Garlic Timing Trick
Add the garlic in the last minute of cooking the onions. This prevents it from burning and releasing a harsh bitterness. The brief sauté brings out a mellow, sweet garlic note that complements the onions perfectly.
The Thyme Addition
Fresh thyme should be added after the onions are removed from heat. The heat will wilt the leaves, releasing their essential oils without losing their bright green color. This preserves the herb’s vibrancy in the final dip.
Creative Twists and Variations
This recipe is a playground. Here are some of my favorite ways to switch things up:
Smoky Chipotle Dip
Add a teaspoon of chipotle powder during the caramelization step. The smoky heat pairs beautifully with the sweet onions, creating a dip that’s perfect for nachos.
Herb‑Infused Variation
Replace fresh thyme with a mix of rosemary and oregano. The herbal bouquet adds complexity, making the dip ideal for grilled meats.
Vegan Version
Swap sour cream and mayonnaise for cashew cream and vegan mayo. The result is a plant‑based dip that still delivers that silky, tangy finish.
Spicy Jalapeño Kick
Dice a jalapeño and sauté it with the onions. The heat from the jalapeño provides a lively contrast to the sweet caramel, making this dip a party favorite.
Cheesy Layered Dip
Fold in shredded cheddar or mozzarella before refrigerating. The cheese melts into the creamy base, adding a gooey, savory layer.
Citrus Brightener
Squeeze a splash of fresh lemon juice into the dip before serving. The citrus zest lifts the richness and adds a refreshing tang.
Storing and Bringing It Back to Life
Fridge Storage
Store the dip in an airtight container in the refrigerator for up to 5 days. The flavors will deepen, and the texture will firm up slightly, making it even more indulgent.
Freezer Friendly
This dip freezes well for up to 3 months. Portion it into freezer‑safe containers, seal tightly, and thaw overnight in the refrigerator. A small splash of water before reheating helps restore the creamy texture.
Best Reheating Method
Reheat gently over low heat, stirring constantly to avoid separation. If the dip looks thick, add a tablespoon of milk or water to reach the desired consistency. The result is silky and smooth, just like the first time.