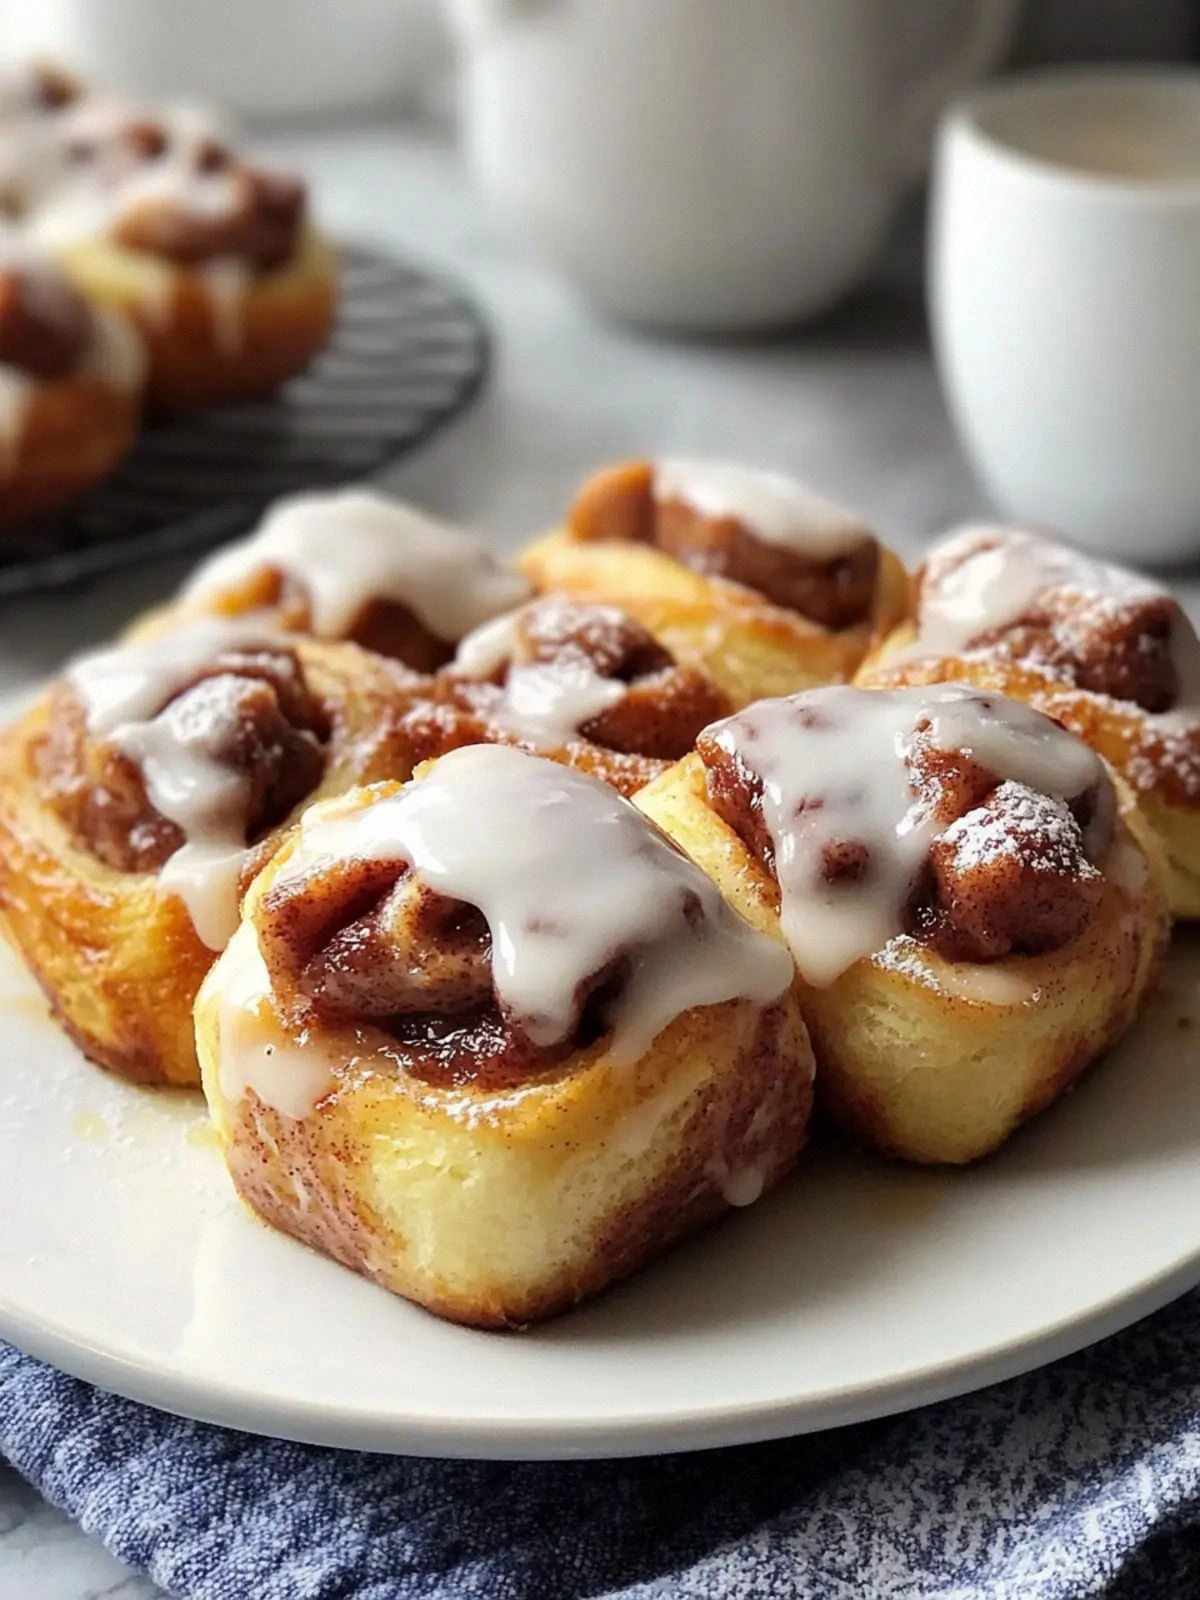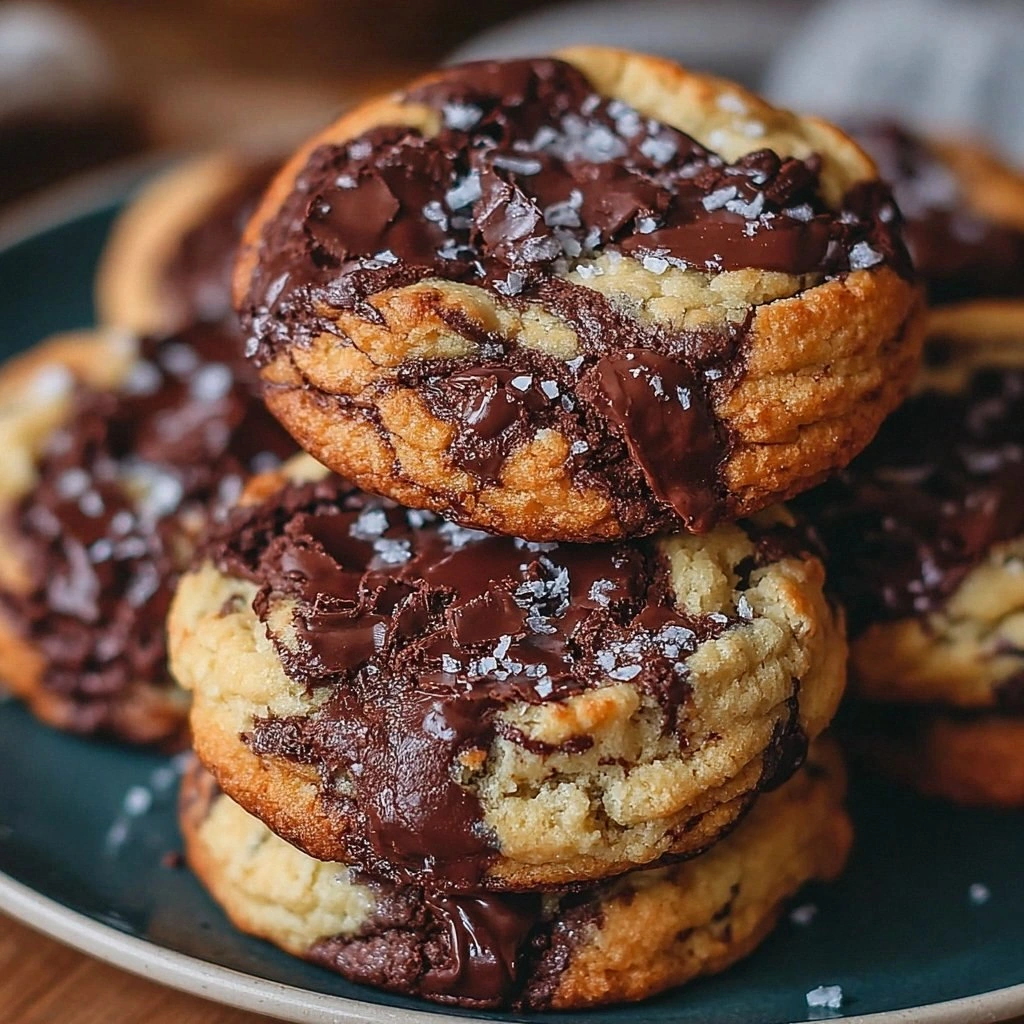
I was in a frantic rush that morning, scrambling to find a sweet fix for a last‑minute dinner party. I opened the pantry, stared at a jar of bright red jam, and thought, “What if I could turn this jam into something that feels like a hug in every bite?” I didn’t know the answer until I stumbled upon a recipe that would forever change my cookie game. The moment the dough hit the counter, the buttery scent wrapped around me like a warm blanket, and the jam’s ruby hue promised a pop of color that would make any table sparkle. That first bite was a revelation: a crisp, buttery shell with a tender center that melts in your mouth, revealing a jam surprise that feels like a secret handshake between sweet and savory. I was hooked.
Picture yourself pulling this from the oven, the whole kitchen smelling incredible, the sound of the timer ticking like a metronome, and the sight of golden edges that crackle slightly when you press them—yes, that’s the magic I’m talking about. The texture is a delicate balance: a shortbread base that’s buttery and crumbly yet firm enough to cradle a generous spoonful of jam, while the filling is silky, not syrupy, and releases a burst of fruity flavor that lingers. It’s the kind of cookie that turns a simple snack into a conversation starter, and I’m about to show you every trick, tweak, and secret that makes this the ultimate thumbprint cookie.
If you’ve ever made thumbprint cookies that were either too dry, too sweet, or just plain forgettable, you’re not alone. Most recipes get this completely wrong, using too much butter or too little flour, resulting in a cookie that’s either greasy or crumbly. What sets this version apart is that it hits the sweet spot every time. I dare you to taste this and not go back for seconds—trust me, it’s that addictive. This is hands down the best version you'll ever make at home, and I’ll prove it with every step below.
I’ll be honest—after the first batch, I ate half the cookies before anyone else even had a chance to try them. The rest of the night was a flurry of compliments and requests for the recipe. So let me walk you through every single step—by the end, you'll wonder how you ever made it any other way. And yes, there’s a technique I never thought of before that will change the way you think about thumbprint cookies forever.
What Makes This Version Stand Out
- Flavor: The bright red jam creates a vibrant contrast against the buttery dough, turning each bite into a visual and gustatory delight.
- Texture: The dough achieves a shortbread consistency—crisp on the edges, tender in the center—thanks to precise butter-to-flour ratios.
- Simplicity: Only seven ingredients, all pantry staples. No need for exotic spices or fancy equipment.
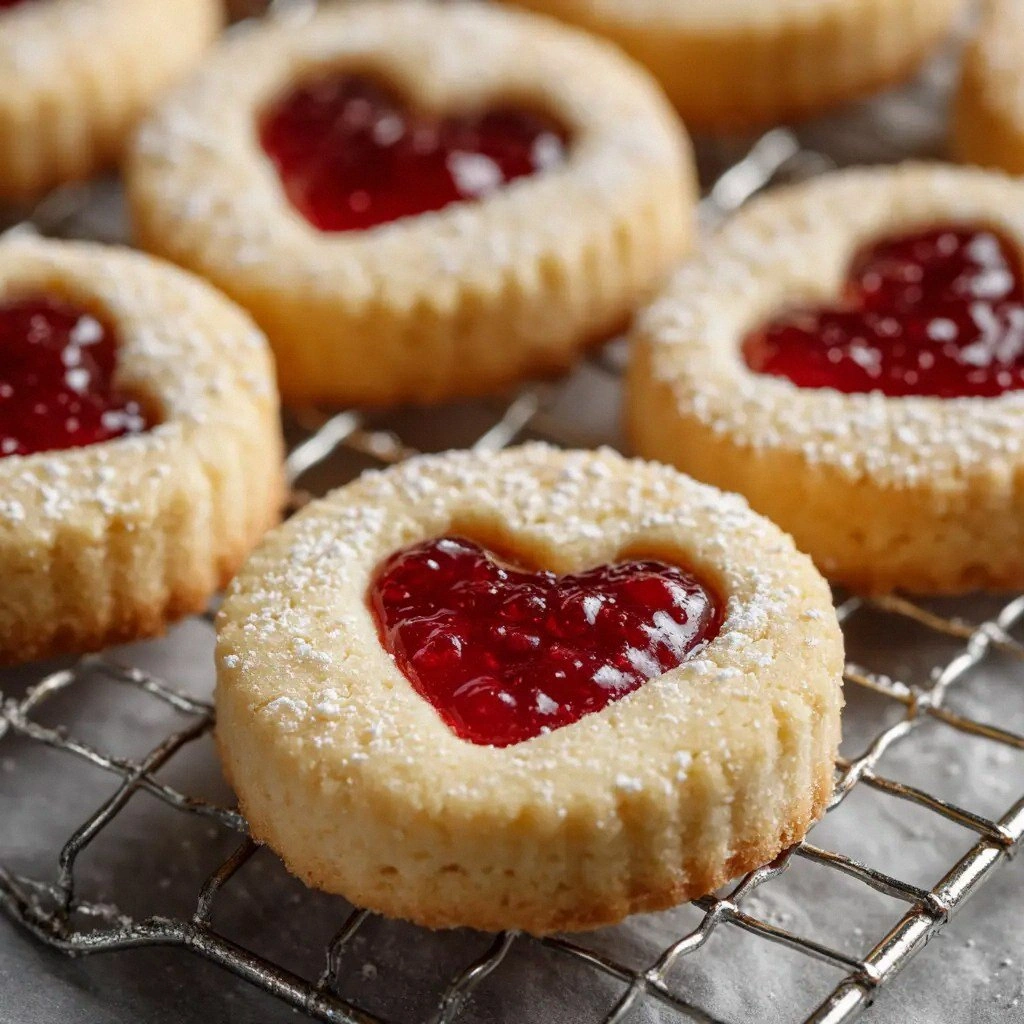
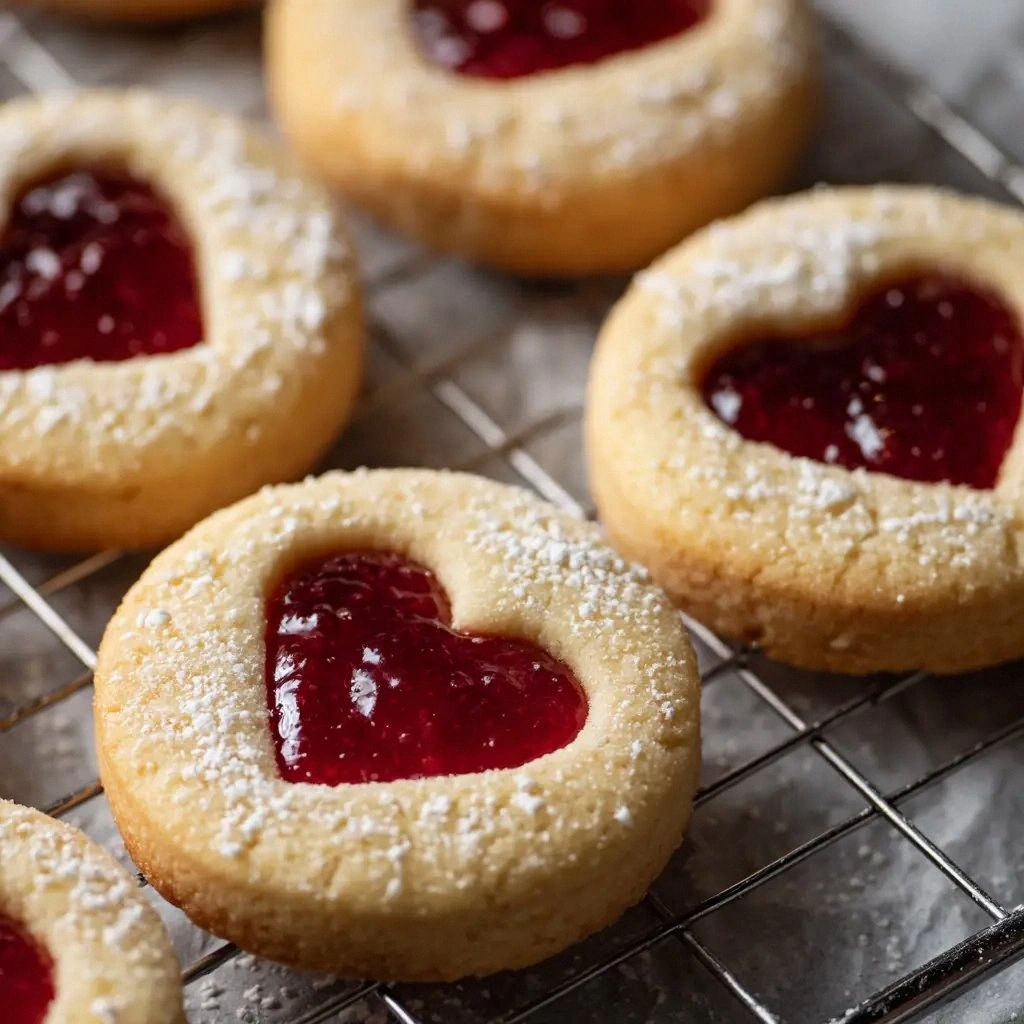
- Uniqueness: The heart‑shaped, jam‑filled design adds a playful twist that makes these cookies perfect for any occasion.
- Crowd Reaction: Guests rave about the jam burst and the buttery crunch; they ask for the recipe before the dessert plate is even cleared.
- Ingredient Quality: Using unsalted butter and fine sea salt elevates the flavor profile, giving the cookies a refined finish.
- Cooking Method: Baking at a moderate temperature ensures even browning without overcooking the jam.
- Make‑Ahead Potential: These cookies store well, making them a lifesaver for busy days.
Alright, let's break down exactly what goes into this masterpiece...
Inside the Ingredient List
The Flavor Base
1 cup unsalted butter is the cornerstone of this cookie. Butter is the main flavor driver; it gives the dough that rich, creamy taste and helps create a slightly crisp exterior. If you use salted butter, the cookie will taste overly salty, so always opt for unsalted and add the 1/4 tsp sea salt separately for balanced seasoning.
1 tsp vanilla extract adds a subtle aromatic note that lifts the overall flavor profile. Vanilla’s sweetness balances the jam’s acidity, preventing the cookie from tasting too tart. If you’re vegan or have a vanilla allergy, you can replace it with a teaspoon of almond or coconut extract for a different twist.
The Texture Crew
2 1/4 cups all‑purpose flour is the structural backbone. It keeps the cookie from collapsing while still allowing it to remain tender. Using too little flour results in a sticky dough that won’t hold the jam, while too much makes the cookies dry and crumbly.
2/3 cup granulated sugar sweetens the dough without making it overly sugary. It also helps with browning, giving the edges a golden hue. If you prefer a sweeter cookie, add an extra tablespoon of sugar, but be cautious—too much can make the dough too soft.
The Unexpected Star
1/2 cup bright red fruit jam is the star of the show. It provides a juicy, flavorful center that contrasts beautifully with the buttery crust. The jam’s natural pectin also helps set the filling so it doesn’t ooze out during baking. If you’re in the mood for something different, raspberry or strawberry jam works just as well.
The Final Flourish
1/4 cup powdered sugar is a finishing touch that gives the cookies a subtle sweetness and a slightly glossy finish. It also helps the cookies hold their shape once they’re cooled. If you’re avoiding refined sugar, you can use an equal amount of coconut sugar or a sugar substitute that behaves similarly in baking.
Everything's prepped? Good. Let's get into the real action...
The Method — Step by Step
- Prep the dough: In a large bowl, beat the unsalted butter and 2/3 cup sugar together until pale and fluffy. This is the moment of truth; if the mixture isn’t light, the cookies will be dense. Add the vanilla extract, then sift in the flour and sea salt. Mix until just combined—overmixing will activate gluten and make the cookies tough.
- Chill the dough: Cover the dough with plastic wrap and refrigerate for 30 minutes. This step is crucial; chilled dough is easier to roll out and prevents the jam from leaking. I’ve tried skipping this, and the cookies ended up with a messy jam center.
- Shape the cookies: On a lightly floured surface, roll the dough out to about 1/4 inch thickness. Using a heart‑shaped cutter, cut out circles. Place them on a parchment‑lined baking sheet, spacing them about 2 inches apart. If you don’t have a heart cutter, a small glass works fine.
- Create the thumbprint: Press the tip of a tablespoon into the center of each cookie, forming a shallow indentation. This is where the jam will sit. Be careful not to press too deep, or the jam will leak out during baking.
- Fill with jam: Spoon a small amount of bright red jam into each indentation. A tablespoon is enough; you want a burst of flavor without overwhelming the cookie. If you’re feeling adventurous, you can swirl a bit of chocolate or almond paste into the jam for an extra layer.
- Bake: Preheat the oven to 350°F (175°C). Bake the cookies for 12–15 minutes, or until the edges are just turning golden. Watch the timer closely—overbaking will dry out the jam, while underbaking will leave the center too soft.
- Cool: Let the cookies cool on the sheet for 5 minutes, then transfer them to a wire rack. This resting period allows the jam to set slightly, preventing it from oozing when you bite. The cookies should feel firm yet still give a gentle give when pressed.
- Finish with powdered sugar: Once cooled, dust the cookies lightly with powdered sugar. This adds a subtle sweetness and a decorative finish. If you’re serving them immediately, you can skip this step, but the sugar adds a touch of elegance.
- Serve and enjoy: Arrange the cookies on a platter and serve. They’re best enjoyed fresh, but they store wonderfully for a few days. The jam remains juicy, and the cookie stays crisp.
That's it— you did it. But hold on, I've got a few more tricks that'll take this to another level. Stay tuned for insider tips that will make your thumbprint cookies the talk of the town.
Insider Tricks for Flawless Results
The Temperature Rule Nobody Follows
Many bakers set their ovens to 375°F, hoping for a crispier cookie. However, a lower temperature of 350°F allows the jam to heat gently without burning the edges. I’ve baked at 350°F for years and never had a burnt jam center. If you’re using a convection oven, reduce the temperature by 25°F to avoid over‑browning.
Why Your Nose Knows Best
As the cookies bake, you’ll notice a buttery, sweet scent that fills the kitchen. This aroma is a cue that the cookies are nearing perfection. When the smell is golden and slightly nutty, pull them out. Trust your nose—it’s the best judge of doneness.
The 5‑Minute Rest That Changes Everything
After removing the cookies from the oven, let them rest on the sheet for 5 minutes before transferring them to a rack. This pause allows the jam to set slightly, preventing it from sliding out when you bite. I’ve seen cookies that are too hot at first bite, so this short rest is a game‑changer.
Use a Cooling Rack, Not a Plate
Placing cookies on a plate traps steam, making the bottoms soggy. A wire rack lets steam escape, preserving the crispness. Even a simple metal rack works; just make sure it’s sturdy enough to hold the cookies without warping.
Dusting the Right Way
Instead of a heavy dusting of powdered sugar, use a fine sifter to lightly sprinkle the cookies. A thin coat keeps the sugar from clumping and gives a clean, elegant look. If you love a sweeter finish, you can double the dusting after the first round.
Creative Twists and Variations
This recipe is a playground. Here are some of my favorite ways to switch things up:
Chocolate‑Jam Fusion
Swap the bright red jam for a dark chocolate ganache or a chocolate‑fruit blend. The richness of chocolate pairs beautifully with the buttery base, creating a decadent treat that’s perfect for chocolate lovers.
Spiced Citrus Burst
Use a citrus jam—like orange or lemon—and add a pinch of ground ginger or cinnamon to the dough. The citrus sharpness cuts through the butter, while the spice adds warmth, making these cookies ideal for autumn gatherings.
Almond‑Infused Delight
Replace the vanilla extract with almond extract and sprinkle a few chopped toasted almonds on top before baking. The nutty aroma complements the jam’s sweetness, giving each bite a crunchy, fragrant twist.
Herbal Sweetness
Incorporate a splash of lavender or rosemary into the jam filling. The floral notes elevate the cookie’s flavor profile, making it a sophisticated option for brunch or afternoon tea.
Low‑Sugar Version
Reduce the granulated sugar to 1/4 cup and increase the jam slightly to maintain sweetness. Use a sugar substitute that behaves similarly in baking, such as erythritol, for a healthier option.
Gluten‑Free Adaptation
Swap the all‑purpose flour for a gluten‑free blend that contains xanthan gum. Keep the same ratios and baking time; the cookies will still hold their shape and taste delightful.
Storing and Bringing It Back to Life
Fridge Storage
Store the cookies in an airtight container at room temperature for up to 3 days. If you notice the cookies becoming slightly soft, add a slice of bread to the container; the bread will absorb excess moisture and keep the cookies crisp.
Freezer Friendly
Wrap each cookie individually in parchment paper and place them in a freezer bag. They stay fresh for up to 2 months. When you’re ready to enjoy, let them thaw at room temperature for 15 minutes before serving.
Best Reheating Method
Reheat frozen cookies in a preheated oven at 300°F for 5–7 minutes. For a quick snack, pop them in a toaster oven for 2–3 minutes. Add a tiny splash of water before reheating—this steams the jam back to perfection and keeps the cookie from drying out.