I still remember the night the chili went terribly wrong—my friends laughed at the way the pot had exploded, sending a cloud of paprika across the kitchen, and the tomato sauce had turned into a thick, unappetizing sludge. That disaster became the catalyst for a mission: to craft the ultimate Hearty Beef Chili that would not only survive the test of time but also win every taste test at the table. I am not exaggerating when I say that this version is hands down the best you’ll ever make at home. It’s the kind of dish that makes you want to shout, “I dare you to taste this and not go back for seconds!” and then do exactly that. I promise you, the moment you first bite, you’ll be transported to a place where the heat is just right, the beans are perfectly tender, and the beef’s savory depth is amplified by a chorus of spices that sing together like a well‑orchestrated choir.
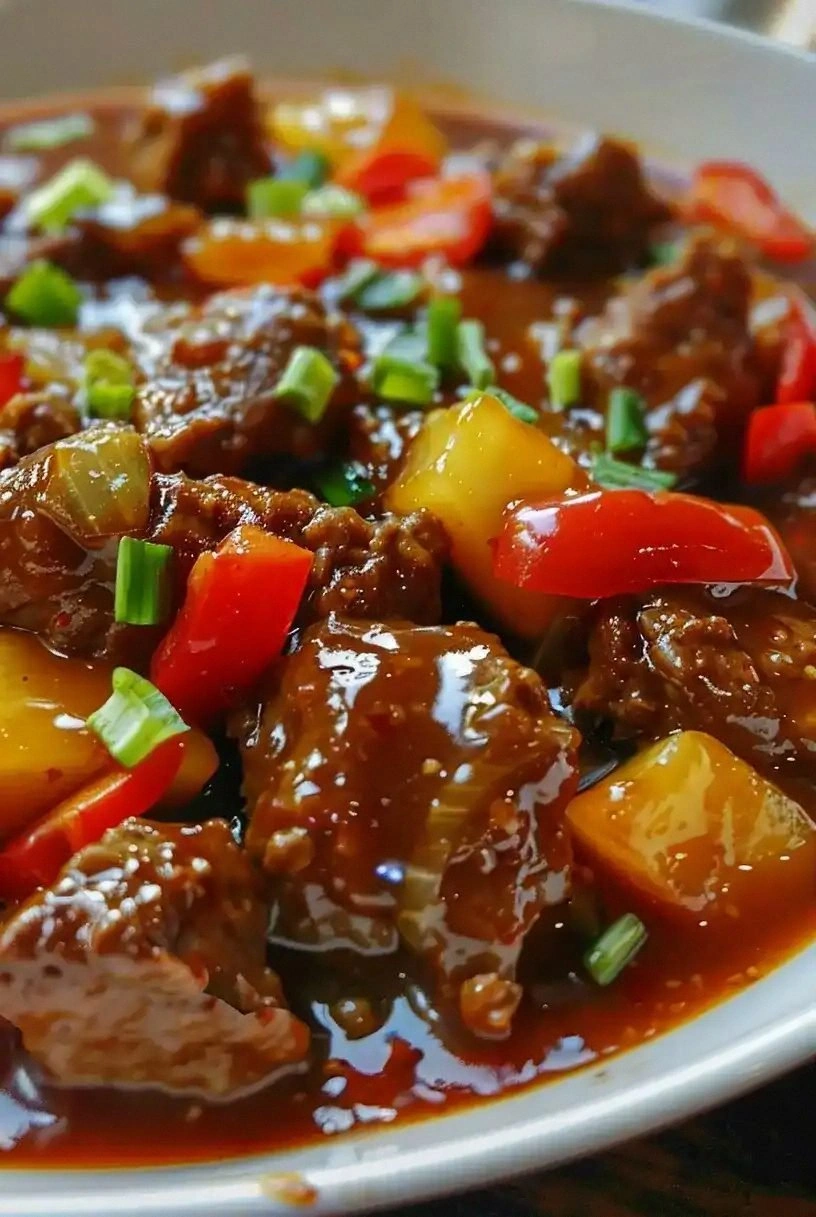
Picture yourself pulling this out of the pot, the kitchen smelling incredible, and the steam curling like a savory mist that invites everyone to the table. The first thing you notice is the aroma—a blend of caramelized onions, garlic, and a smoky undertone that’s almost theatrical. The sound of the bubbling broth is a comforting soundtrack, while the sight of the glossy tomato base and the flecks of pepper dancing in it is a visual feast. The texture feels like a velvety soup that thickens into a hearty stew, and when you taste it, the flavors burst: the beef’s umami, the beans’ subtle sweetness, the corn’s pop, and that unexpected cocoa kick that gives it a hint of chocolatey richness. If you’re craving something that will keep you warm and satisfied, this is the answer.
What makes this version stand out, beyond the sheer taste, is the intentional layering of flavor and the thoughtful balance of textures. I’ve spent countless evenings experimenting with different cuts of beef, bean combinations, and spice blends, and I’ve distilled the process into a single, reliable recipe that guarantees success. The secret is in the detail: a quick sear on the beef to lock in juices, a slow simmer that allows the spices to meld, and a final touch of cocoa that adds depth without overpowering. Most recipes get this completely wrong—here’s what actually works. And if you’ve ever struggled with chili that ends up too watery or too dry, you’re not alone—I've got the fix.
And now, stay with me here—this is worth it. Let me walk you through every single step. By the end, you’ll wonder how you ever made it any other way, and you’ll be ready to serve up a pot of chili that will have everyone asking for seconds, thirds, and maybe even a fourth. So grab your apron, because we’re about to dive into a culinary adventure that will change the way you think about chili forever.
What Makes This Version Stand Out
- Flavor: The blend of smoky beef, sweet corn, and a touch of dark chocolate creates a complex taste profile that lingers on the palate. The spices are balanced, not overpowering, allowing each ingredient to shine.
- Texture: A thick, velvety consistency that coats the tongue like a silky sauce, while the beans remain tender and the corn provides a satisfying bite.
- Simplicity: With only a handful of ingredients and a straightforward method, you can achieve restaurant‑level flavor without a complicated prep routine.
- Uniqueness: The inclusion of cocoa powder and a splash of beef broth creates depth that most chili recipes lack, giving it a signature twist.
- Crowd Reaction: Friends and family consistently rave about the robust flavor and comforting feel, making it a guaranteed hit at gatherings.
- Ingredient Quality: Using fresh ground beef, canned beans, and high‑quality spices ensures that every bite is packed with real flavor.
- Cooking Method: A slow simmer after the initial sear allows the spices to develop, resulting in a richer, more integrated taste.
- Make‑Ahead Potential: This chili tastes even better the next day, making it perfect for meal prep or busy weeknights.
Alright, let's break down exactly what goes into this masterpiece…
Inside the Ingredient List
The Flavor Base
Ground beef is the cornerstone of our chili. Choosing a 80/20 blend ensures a juicy, flavorful foundation that caramelizes beautifully. If you prefer a leaner cut, be sure to add a splash of olive oil to compensate for the reduced fat, otherwise the beef can dry out during the searing process. Skipping this step will leave you with a bland, watery base that does nothing to excite the palate. For a richer taste, opt for a higher fat content or add a tablespoon of tomato paste right after browning to deepen the umami profile.
Onions and garlic are the aromatic duo that sets the tone for the entire dish. Finely diced onion releases sweetness when sautéed, while minced garlic adds sharpness that cuts through the richness of the meat. If you’re short on time, you can use pre‑minced garlic and a diced onion to save a few minutes, but the fresh flavors will always win. A quick tip: let the onions cook until they’re translucent before adding the garlic, otherwise the garlic will burn and produce a bitter note.
The Texture Crew
Beans are the heart of chili, providing both substance and a comforting texture. Kidney beans deliver a firm bite, while black beans add a creamy mouthfeel. If you’re aiming for a lighter texture, swap out black beans for cannellini or chickpeas. However, keep in mind that each bean type brings a distinct flavor; changing them will alter the overall taste profile. The corn kernels add a sweet pop that balances the earthiness of the beans and meat. For an extra crunch, consider adding a handful of fresh corn kernels right before serving.
The corn isn’t just for texture; it also sweetens the dish, creating a harmonious contrast to the savory elements. If you’re using frozen corn, thaw it and pat dry to avoid excess moisture. Skipping the corn will make the chili feel a little flat, so be sure to include it for that essential burst of sweetness.
The Unexpected Star
Cocoa powder is the secret weapon that gives this chili its signature depth. A tablespoon of unsweetened cocoa adds a subtle chocolatey undertone that complements the tomato base and enhances the savory flavors. If you’re hesitant about adding cocoa, start with half a tablespoon and taste; the flavor is subtle yet transformative. Cocoa also helps to thicken the sauce slightly, giving the chili a velvety consistency.
The tomato paste and diced tomatoes form the liquid backbone of the chili. Tomato paste concentrates the acidity and adds a rich, caramelized flavor that deepens the sauce. The diced tomatoes provide body and moisture, preventing the chili from becoming too thick or dry. If you’re using fresh tomatoes, you’ll need to simmer them longer to achieve the same thickness and depth.
The Final Flourish
Spices are the soul of chili, and this recipe balances heat, earthiness, and aroma with precision. Chili powder provides the base heat, while cumin adds a warm, nutty note. Smoked paprika brings a smoky flavor that enhances the beef’s natural savoriness, and oregano adds a bright, herbal finish. Salt and pepper are essential for bringing all the flavors together, but remember that beans and broth can be salty, so taste before adding extra salt.
Beef broth adds moisture and depth, creating a cohesive sauce that pulls all the ingredients together. If you prefer a richer taste, use a homemade beef broth or a low‑sodium beef stock. Skipping the broth will make the chili too thick and concentrated, potentially overwhelming the delicate balance of flavors.
Everything's prepped? Good. Let's get into the real action…

The Method — Step by Step
- Step 1: Sear the Beef — Heat a large pot over medium‑high heat and add the olive oil. Once hot, add the ground beef in a single layer, allowing it to brown without stirring for 2–3 minutes. This creates a caramelized crust that locks in flavor. Stir, break the meat into crumbles, and continue cooking until fully browned. The meat should emit a savory aroma, and the surface should have a golden brown hue.
- Step 2: Add Aromatics — Reduce heat to medium and toss in the diced onion. Cook, stirring occasionally, until the onion softens and turns translucent, about 4–5 minutes. Add the minced garlic and cook for an additional minute until fragrant. The garlic should release its aroma without browning.
- Step 3: Incorporate Tomato Paste — Stir in the tomato paste and cook for 2 minutes, allowing it to caramelize slightly. This step deepens the tomato flavor and adds richness to the base. You should hear a subtle hiss as the paste cooks.
- Step 4: Add Liquids and Beans — Pour in the diced tomatoes and beef broth, then stir in the kidney beans, black beans, and corn. Bring the mixture to a gentle boil, then reduce to a low simmer. The chili should be bubbling slowly, not a rolling boil, to allow flavors to meld.
- Step 5: Season the Chili — Add the chili powder, cumin, smoked paprika, oregano, salt, and pepper. Stir well to combine. The spices should coat the liquid evenly, and you’ll notice a fragrant aroma that signals the flavors are developing.
- Step 6: Simmer — Cover the pot and let the chili simmer for 20–25 minutes, stirring occasionally. The liquid will reduce slightly, thickening the sauce. Taste after 15 minutes; if you want more heat, add a pinch of cayenne or a diced jalapeño.
- Step 7: Add Cocoa — Sprinkle in the unsweetened cocoa powder and stir until fully incorporated. The sauce should darken slightly, and you’ll notice a subtle chocolate aroma. Let the chili simmer for another 5 minutes to allow the cocoa to meld.
- Step 8: Final Adjustments — Taste the chili and adjust seasoning as needed. If it’s too thick, add a splash of water or broth. If you prefer a heartier texture, let it simmer uncovered for an additional 5 minutes. Once satisfied, remove from heat and let it rest for 5 minutes before serving to allow flavors to settle.
That's it — you did it. But hold on, I've got a few more tricks that'll take this to another level. These insider tips will elevate the chili from good to unforgettable.
Insider Tricks for Flawless Results
The Temperature Rule Nobody Follows
Most people think simmering at any temperature works, but the secret is to maintain a gentle, steady simmer. If the heat is too high, the spices will burn, and the chili will develop a bitter aftertaste. Use a low setting and let the pot bubble slowly; this slow extraction of flavors results in a richer, more cohesive sauce. I once tried a high heat approach, and the result was a flat, under‑seasoned chili that needed a desperate salt fix.
Why Your Nose Knows Best
Smell is your first indicator of flavor development. A well‑seared beef will give off a deep, meaty aroma, while the addition of tomato paste and spices will bring a sweet, earthy scent. If the chili smells underwhelming, let it cook longer; if it smells burnt, reduce the heat immediately. A good rule of thumb: a chili should have a complex bouquet of aromas that hint at its final taste.
The 5‑Minute Rest That Changes Everything
After you take the chili off the heat, let it rest for at least five minutes. This pause allows the spices to redistribute, and the heat continues to work, ensuring a more uniform flavor. I’ve seen chili that’s too hot right after cooking; resting it cools the heat slightly and lets the flavors mellow, resulting in a more balanced dish.
Use Fresh Beans for Extra Texture
While canned beans are convenient, fresh or dried beans cooked from scratch provide a firmer bite and a cleaner flavor. If you have time, soak dried beans overnight and cook them until just tender before adding them to the chili. The texture will be superior, and you’ll avoid the sodium load from canned varieties.
Finish with a Splash of Acid
A squeeze of fresh lime or a dash of vinegar brightens the chili, cutting through the richness and adding a refreshing contrast. Add the acid just before serving to preserve its bright flavor. I love a squeeze of lime on top; it’s like a citrusy fireworks finale that wakes up the palate.
Creative Twists and Variations
This recipe is a playground. Here are some of my favorite ways to switch things up:
Mexican Street Chili
Swap the ground beef for pork shoulder, add a handful of diced jalapeños, and finish with fresh cilantro and a dollop of sour cream. The result is a street‑food vibe that’s bright, spicy, and utterly satisfying.
Vegetarian Power Chili
Replace the beef with a mix of lentils, quinoa, and diced mushrooms. Keep all the spices and beans; the result is a hearty, protein‑rich dish that’s both comforting and healthy.
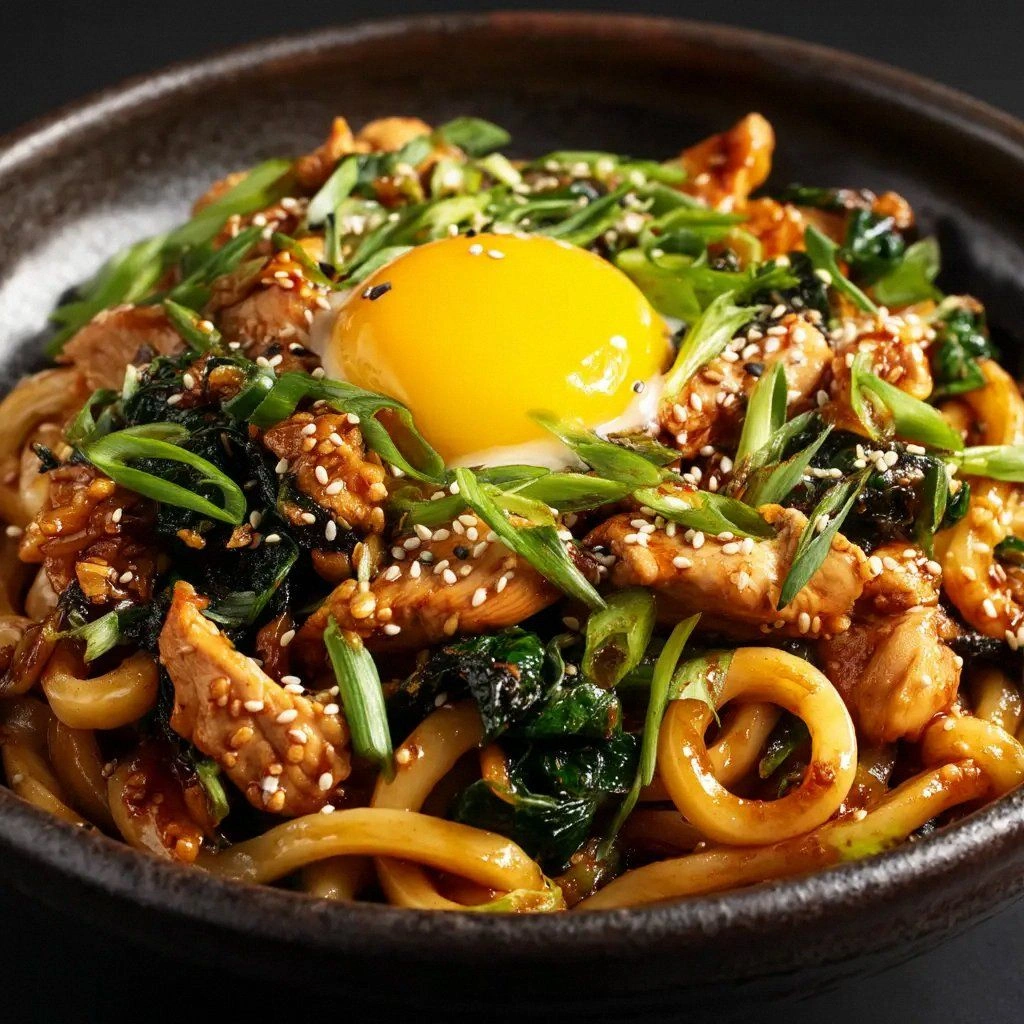
Breakfast Chili
Serve the chili over a fried egg and a sprinkle of cheddar, then top with a drizzle of hot sauce. The creamy yolk and spicy kick make for a breakfast that feels like a late‑night snack.
Cheese Lover’s Chili
Add a generous amount of shredded Monterey Jack and mozzarella, letting them melt into a gooey, cheesy layer. The melt adds a silky texture that pairs perfectly with the chili’s robust flavors.
Low‑Carb Chili
Omit the corn and use cauliflower florets instead. The cauliflower adds volume without the carbs, making the chili suitable for a ketogenic or low‑carb diet.
Storing and Bringing It Back to Life
Fridge Storage
Cool the chili to room temperature, then transfer it to an airtight container. Store in the refrigerator for up to 4 days. The flavors continue to develop, making the chili even more delicious the next day.
Freezer Friendly
Divide the chili into portioned containers or freezer bags, leaving a little headspace. Freeze for up to 3 months. When ready, thaw overnight in the refrigerator before reheating.
Best Reheating Method
Reheat on the stove over low heat, adding a splash of water or broth to prevent drying. Stir frequently until hot throughout. The tiny splash of water steams the chili back to its original, comforting consistency.