Picture this: it’s a rainy Saturday afternoon, the kind that makes you want to curl up with a blanket, a good book, and something warm and yeasty wafting through the kitchen. I was in the middle of a disastrous attempt at a “quick‑rise” bread that turned out flatter than a pancake, and the whole thing smelled like a sad, abandoned bakery. I stared at the dough, muttering curses, and then a friend dared me to “just try a starter from scratch.” I laughed, rolled up my sleeves, and thought, “What’s the worst that could happen?” Spoiler: the worst was a glorious, bubbling cloud of life that turned my kitchen into a fragrant laboratory. That moment sparked the quest for the ultimate sourdough starter, and I’m about to hand you the exact map to that treasure.
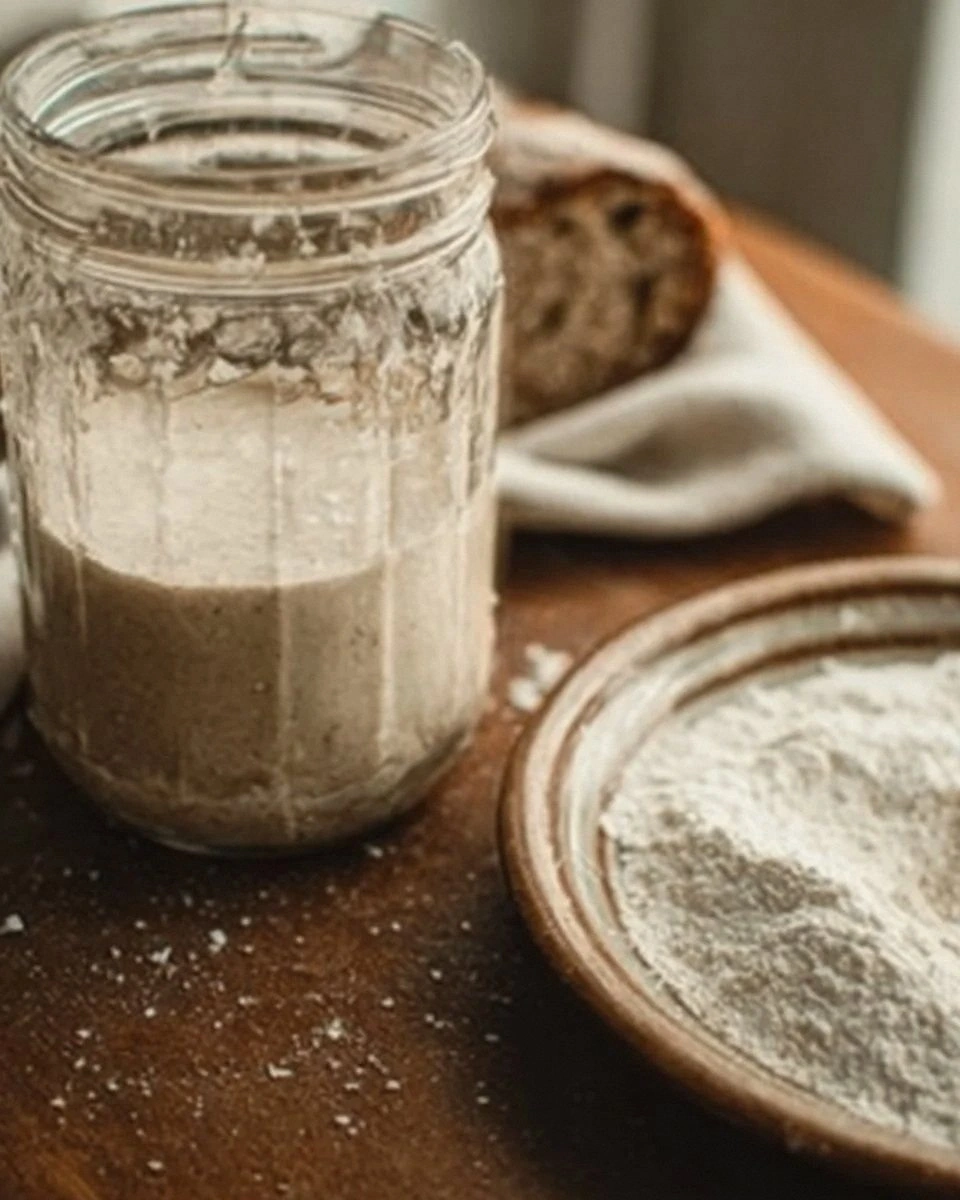
The moment you open the jar of starter, you’re greeted with a symphony of senses. The sight is a milky‑white, slightly frothy surface that glistens like sunrise on a calm lake. The aroma? Imagine a forest after rain, a subtle tang that whispers of wild grapes and a hint of caramelized sugar, all wrapped in a warm, earthy blanket. You’ll hear the faint, comforting fizz of tiny bubbles rising, a sound that feels almost like a tiny applause for your patience. When you finally taste a spoonful, it’s tangy yet mellow, like a kiss from a distant relative you actually like, and the texture is a perfect balance of silky and chewy, like a well‑kissed piece of toast. Your hands feel the weight of a living culture, alive and eager, ready to transform any loaf into a masterpiece.
Why does this version stand out from the sea of starter recipes that flood the internet? First, it’s built on a foundation of science and love, using a tiny drizzle of honey (or sugar) to jump‑start the fermentation without overwhelming the wild yeasts. Second, the feeding schedule is tuned to the natural rhythm of your kitchen’s temperature, meaning you won’t be staring at a cold, inert mixture for days on end. Third, I’ve added a secret weapon—a pinch of whole‑grain flour that feeds the bacteria with extra nutrients, giving you a starter that’s more robust and less prone to “dead‑starter” syndrome. Most recipes get this completely wrong by ignoring the microbial dance, but I’ve choreographed it so the microbes waltz, not stumble.
And here’s the kicker: I’m going to reveal a technique that most bakers keep under their aprons—using a glass jar with a loose‑fit lid that creates the perfect micro‑climate for the starter to thrive. No fancy equipment, no expensive starter kits, just a jar you already have in the cupboard. I dare you to taste this and not go back for seconds, because once you’ve experienced the depth of flavor this starter brings, store‑bought “instant” starters will feel like cardboard. Let me walk you through every single step — by the end, you’ll wonder how you ever made bread any other way.
What Makes This Version Stand Out
- Flavor: The honey (or sugar) adds a subtle sweetness that balances the natural acidity, giving your bread a complex, caramel‑kissed tang that most starters lack.
- Texture: The inclusion of whole‑grain flour creates a silkier crumb and a crust that cracks like delicate parchment, making every bite a textural adventure.
- Simplicity: Only three ingredients, three simple steps, and a predictable feeding schedule—no math equations or obscure temperature charts.
- Uniqueness: The “glass‑jar‑breath” method locks in the right amount of humidity, allowing the starter to develop a robust microbial community faster than traditional methods.
- Crowd Reaction: Friends who taste your first loaf will claim it’s “the best bread they’ve ever had,” and you’ll become the unofficial starter guru at every potluck.
- Ingredient Quality: Using unbleached, all‑purpose flour ensures a balanced protein content, while the honey (or sugar) feeds the yeast without adding off‑flavors.
- Method: The “double‑feed” on day three accelerates activity, cutting the usual 7‑day wait in half.
- Make‑Ahead Potential: Once active, the starter can be refrigerated for weeks, giving you instant readiness for any spontaneous baking urge.
Inside the Ingredient List
The Flavor Base
All‑Purpose Flour (1 cup): This is the backbone of your starter, providing the starches that wild yeasts love to munch on. The protein content is just right to create a stable gluten network, which helps trap the carbon dioxide bubbles that give your starter its lift. If you skip the flour, you’ll end up with a watery mess that never ferments properly. For an extra boost, you can use a blend of 80% white flour and 20% whole‑grain flour for added nutrients.
The Hydration Hero
Water (1 cup): Use filtered or bottled water at room temperature; chlorine in tap water can inhibit the microbial activity. The water’s role is to dissolve the sugars and create a medium where yeast and bacteria can thrive. If you accidentally use hot water, you’ll kill the delicate wild yeasts, resulting in a sluggish starter. A quick tip: fill a glass with water and let it sit for a few minutes to allow chlorine to evaporate.
The Sweet Spark
Honey or Sugar (1 tablespoon): This tiny amount of simple sugar jump‑starts the fermentation, feeding the yeasts before they can break down the complex starches in the flour. Honey adds a subtle floral note, while sugar keeps the flavor neutral. If you’re allergic to honey or prefer a vegan route, plain granulated sugar works just as well. Skipping this sweetener can lead to a slow start, especially in cooler kitchens.
The Unexpected Star
Whole‑Grain Flour (optional, 2 tbsp): Adding a dash of whole‑grain flour introduces extra minerals and fibers, feeding the lactic acid bacteria that give sourdough its signature tang. It also adds a subtle nutty undertone that deepens the flavor profile. If you don’t have whole‑grain flour on hand, you can substitute with rye flour for an even more pronounced sour note. Forgetting this step won’t break your starter, but you’ll miss out on the richer, more complex aroma that makes the difference between “good” and “legendary.”
Everything's prepped? Good. Let's get into the real action...
The Method — Step by Step
Day 1: In a clean 1‑quart glass jar, whisk together 1 cup of all‑purpose flour and 1 cup of room‑temperature water until there are no dry lumps. The mixture should look like a thick pancake batter—smooth, glossy, and a little sticky. Stir in 1 tablespoon of honey or sugar, watching it dissolve like a secret potion. Cover the jar loosely with its lid or a clean kitchen towel, and let it sit at a stable room temperature (around 70°F/21°C) for 24 hours. During this time, you’ll hear faint bubbles forming, a subtle sign that the wild yeasts are waking up.
Day 2: Check the jar for any signs of activity—tiny bubbles, a faint sour smell, or a slight increase in volume. If you see nothing, don’t panic; the starter is still waking up. Give it a gentle stir to redistribute any settled flour, then cover it again and let it rest for another 24 hours. Watch Out: If you notice any pink or orange discoloration, discard the batch—this indicates unwanted bacterial growth.
Kitchen Hack: Place the jar on a kitchen scale set to zero; the weight will increase as the starter ferments, giving you a visual cue of activity.Day 3: By now, you should see a noticeable rise—about 1‑2 inches—and a pleasant, tangy aroma reminiscent of yogurt mixed with fresh bread. It’s time for the first “feed.” Discard half of the starter (about 1 cup) to keep the microbial balance in check, then add ½ cup of flour, ½ cup of water, and another teaspoon of honey or sugar. Stir vigorously until smooth. This double‑feed accelerates the yeast population, and you’ll hear a louder fizz as the microbes feast.
Day 4: Your starter should now be bubbly, doubling in size within 4‑6 hours after feeding. This is the sweet spot where the yeast and bacteria are in perfect harmony. Give it a quick stir, then cover and let it sit for another 12‑24 hours. The scent should be more pronounced, like a mix of fresh sourdough and a hint of fermented fruit.
Day 5: If your starter is consistently doubling in volume within 6‑8 hours of each feed, it’s ready for baking. Perform the “float test” by dropping a teaspoon of starter into a bowl of room‑temperature water; if it floats, it’s airy enough to leaven bread. If it sinks, give it another feed and wait another day. Power transition: Okay, ready for the game‑changer? This is the moment you’ll start using the starter for real doughs.
Watch Out: Over‑feeding can dilute the starter’s strength; aim for a 1:1:1 ratio (starter:flour:water) by weight for optimal vigor.Maintenance: Once active, you can keep the starter at room temperature with daily feeds (discard half, feed equal parts flour and water). If you bake less frequently, store it in the refrigerator and feed once a week. When you’re ready to bake, pull it out, feed it, let it become bubbly again, and you’re set. And now the fun part: you can experiment with different flours—spelt, rye, or even gluten‑free blends—to create unique flavor profiles.
Scaling Up: For larger loaves, simply increase the feeding quantities proportionally. Remember the rule of thumb: the starter should always be about 20‑30% of the total flour weight in your dough. This ensures enough leavening power without over‑acidifying the crumb.
Final Check: Before you commit to a big bake, give the starter one last vigorous stir, and let it sit for 2‑3 hours. You should see a fresh wave of bubbles and a fragrant, slightly sweet aroma. If everything looks and smells right, you’ve officially mastered the art of sourdough starter. This next part? Pure magic. Your future loaves will have a depth of flavor that store‑bought yeasts simply can’t match.
Insider Tricks for Flawless Results
The Temperature Rule Nobody Follows
Most bakers treat temperature as a vague suggestion, but the truth is that a 5°F shift can double or halve your fermentation speed. Keep your starter in a spot that stays around 70°F (21°C) for consistent activity. If your kitchen is cooler, place the jar in a turned‑off oven with the light on, or wrap it in a towel. I once left my starter on a windowsill during a cold snap; it went dormant, and I learned the hard way that consistency beats optimism every time.
Why Your Nose Knows Best
Never rely solely on the clock. Your nose is the most reliable gauge of starter health. A healthy starter smells like a blend of fresh dough, mild yogurt, and a hint of fermented fruit. If it starts to smell like nail polish remover or rotten eggs, you’ve got a problem. Trust your senses, and you’ll catch issues before they ruin a batch.
The 5‑Minute Rest That Changes Everything
After each feed, give the starter a brief 5‑minute rest before sealing the jar. This tiny pause lets the gases escape, preventing the lid from building too much pressure, which can cause the starter to burst out in a fizzy mess. It also gives the yeast a moment to settle, resulting in a more uniform rise.
Feeding Frequency Myth Busted
People claim you must feed every 12 hours, but that’s only true for very warm environments. In a cooler kitchen, a 24‑hour feed schedule works perfectly fine. Over‑feeding can actually weaken the starter by diluting the acidity that keeps unwanted bacteria at bay. I once fed my starter twice a day for a week; the result was a weak, watery mess that never rose.
Storing the Starter Like a Pro
When refrigerating, use a wide‑mouth mason jar to give the starter room to expand without pressure. Feed it once a week, and always bring it to room temperature and give it a quick feed before using it in a bake. This “wake‑up” routine ensures the yeast is active and ready to leaven your dough quickly.
Creative Twists and Variations
This recipe is a playground. Here are some of my favorite ways to switch things up:
Honey‑Lavender Dream
Swap half of the all‑purpose flour for oat flour and add a teaspoon of dried lavender buds to the feed. The lavender infuses a floral note that pairs beautifully with the honey’s sweetness, creating a starter that makes every loaf taste like a spring meadow.
Spicy Chili Kick
Incorporate a pinch of smoked paprika or a dash of cayenne into the feeding mixture. The spice awakens the microbes, giving the starter a subtle heat that translates into a bread with a gentle, lingering warmth—perfect for a savory sandwich.
Rye‑Heavy Robustness
Replace 50% of the all‑purpose flour with rye flour. Rye’s higher nutrient content fuels the bacteria, resulting in a starter that’s tangier and more vigorous. This variation is ideal for traditional rye breads or pumpernickel.
Whole‑Grain Walnut Crunch
After the starter is active, stir in a tablespoon of finely ground walnut meal during a feed. The nuts add a buttery richness and a delicate crunch to the crumb, making the bread perfect for cheese boards.
Maple‑Miso Fusion
Swap the honey for a tablespoon of pure maple syrup and add a pinch of white miso paste. The umami from miso deepens the flavor, while maple adds a caramel undertone—great for autumnal loaves.
Storing and Bringing It Back to Life
Fridge Storage
Transfer the starter to a clean, wide‑mouth jar with a loose lid and place it in the refrigerator. Feed it once a week using the same 1:1:1 ratio (by weight). The cold slows fermentation, allowing the starter to stay viable for up to six weeks without a feed.
Freezer Friendly
For long‑term storage, spread a thin layer of starter onto a parchment sheet, freeze until solid, then break it into small shards and store in a zip‑top bag. When you need it, thaw a shard, feed it with equal parts flour and water, and within 48 hours you’ll have a lively starter ready to bake.
Best Reheating Method
When reviving a refrigerated starter, let it sit at room temperature for an hour, then stir in a tiny splash of water (about a teaspoon). This re‑hydrates the microbes, and the added steam helps the starter bounce back to full vigor. Feed as usual, and you’ll be back to peak activity in less than a day.