Picture this: I’m in the middle of a family gathering, the air thick with anticipation and the scent of freshly baked goods. My friends have been clamoring for a quick, crowd‑pleasing treat, and I’m standing in front of an empty pantry, feeling the pressure rise like a batter in a pan. I glance at my fridge, and the only thing that looks promising is a box of Rice Krispies, a tub of marshmallows, and a jar of vanilla. I know I’m about to create something that will either save the day or become the reason the family will joke about “that sticky mess” for years. But that’s the thing—this isn’t just another recipe; it’s a rescue mission for my culinary reputation.
The moment the marshmallows hit the saucepan, a sweet, caramel‑like aroma fills the kitchen, and the sound of them melting is like a gentle whisper of comfort. The heat transforms them into a glossy, gooey ribbon that clings to the Rice Krispies, turning each grain into a crunchy, chewy bite. As I stir, I can feel the mixture thickening, the edges starting to pull away from the pan like a golden membrane. The texture is a paradox: a crispy exterior that cracks under the first bite, giving way to a soft, slightly sticky interior that lingers on the tongue. The taste is a balanced sweet‑but‑not‑overbearing sweetness, with the buttery undertones providing a savory depth that makes each bite feel indulgent without being cloying.
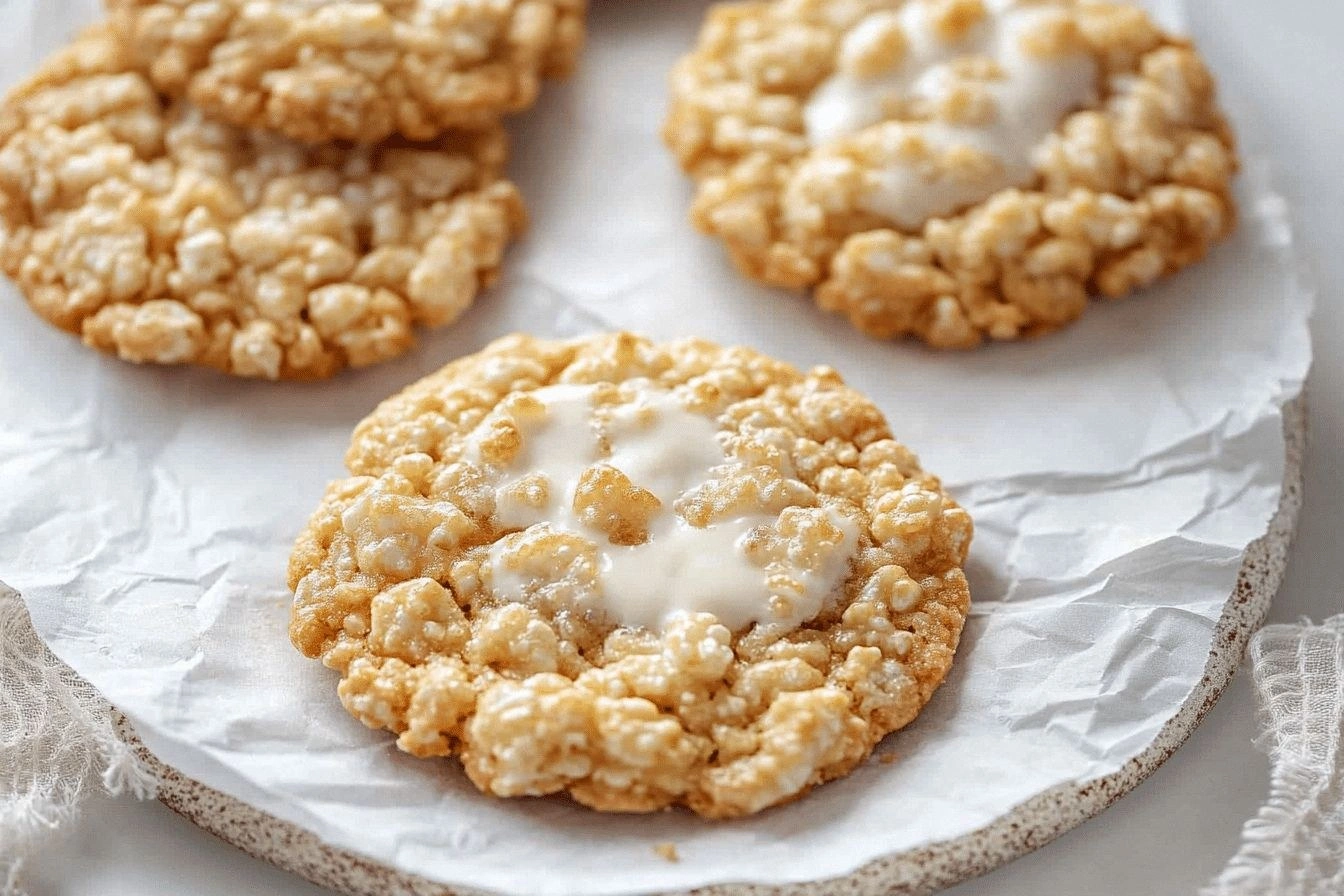
What makes this version stand out is that I’ve stripped away every unnecessary step, turning a classic treat into a cookie‑style delight that’s easier to handle and more portable. I’ve added a subtle vanilla infusion that elevates the flavor profile, and I’ve introduced a “press‑and‑cut” method that eliminates the need for a cookie cutter or a pizza cutter. The result is a batch of bite‑size, uniform cookies that are perfect for sharing, packing in lunches, or simply enjoying with a cup of tea. And trust me, when you taste the first one, I dare you to not go back for seconds—this is hands down the best version you’ll ever make at home.
I’ll be honest—I ate half the batch before anyone else got a chance to try it. That’s the kind of confidence I have in this recipe. It’s not just about the taste; it’s about the experience. Picture yourself pulling this out of the oven, the whole kitchen smelling incredible, and the kids’ eyes widening at the sight of perfectly square, golden‑brown cookies. Stay with me here—this is worth it. Let me walk you through every single step, and by the end, you’ll wonder how you ever made it any other way.
What Makes This Version Stand Out
- Texture: The cookies boast a satisfying crunch that shatters like thin ice, followed by a chewy interior that melts in your mouth, creating a harmonious contrast that elevates the classic Rice Krispie experience.
- Flavor Depth: A splash of vanilla extract transforms the sweetness into a warm, aromatic profile, while the buttery base provides a savory richness that balances the sugary marshmallow.
- Portability: Pressed into a pan and cut into squares, these cookies are as convenient as a snack pack, making them ideal for road trips, school lunches, or office breaks.
- Speed: In under 30 minutes from start to finish, you’ll have a batch of fresh, golden cookies that look and taste like they’ve been in a bakery.
- Versatility: The optional mix‑ins—mini chocolate chips, rainbow sprinkles, or chopped nuts—allow you to tailor the flavor to your mood or the occasion, turning a simple treat into a personalized masterpiece.
- Make‑ahead Potential: Once baked, these cookies keep their crunch and chew for up to a week when stored properly, making them a perfect make‑ahead dessert.
Alright, let's break down exactly what goes into this masterpiece... Here’s a quick hack to keep everything organized.
Inside the Ingredient List
The Flavor Base
Rice Krispies Cereal forms the backbone of these cookies, providing the signature crunch that defines the Rice Krispie Treat experience. Each grain acts like a tiny, golden armor that holds the chewy marshmallow together. If you skip this ingredient, you’ll end up with a mushy, marshmallow‑only mess that lacks structure. For the best results, use the original, unflavored Rice Krispies; flavored varieties can overpower the delicate vanilla note.
The Sweet Glue
Marshmallows are the glue that binds everything together. Their melt‑and‑stick texture creates a chewy center that contrasts beautifully with the crisp cereal. If you use mini marshmallows or a mix of sizes, the texture will vary, but the result will still be delicious. A good rule of thumb is to use a cup of marshmallows for every three cups of Rice Krispies; this ratio keeps the cookies firm yet soft.
The Butter Boost
Butter adds a rich, savory depth that balances the sweetness of the marshmallows. It also helps the mixture melt evenly and prevents the marshmallows from sticking to the pan. If you’re watching calories, you can substitute half butter with coconut oil for a subtle tropical hint, but be careful not to overheat the oil, or it will scorch the mixture.
The Aroma Enhancer
Vanilla Extract is the secret weapon that elevates the flavor profile. It brings a warm, fragrant note that makes the cookies feel indulgent without adding extra sugar. Use pure vanilla extract for the best aroma; imitation vanilla can leave a chemical aftertaste. A teaspoon per batch is enough to make a noticeable difference.
The Optional Mix‑Ins
Mini chocolate chips, rainbow sprinkles, or chopped nuts add bursts of flavor and texture that keep the cookies exciting. Chocolate chips give a classic, bittersweet contrast; sprinkles add color and a hint of sugary crunch; nuts bring a satisfying bite and a nutty aroma. Use about a half cup of your chosen mix‑in; if you prefer a subtle addition, start with a quarter cup and increase to taste.
Everything's prepped? Good. Let's get into the real action...
The Method — Step by Step
- Prepare the pan. Line an 8‑inch square baking pan with parchment paper, leaving a small overhang on each side for easy removal. This ensures the cookies won’t stick and makes cleanup a breeze. If you’re feeling fancy, lightly grease the parchment with a bit of butter or oil. The overhang will also give the cookies a neat edge when you lift them out.
- Heat the butter. In a medium saucepan over medium heat, melt the butter until it foams but does not brown. The foam indicates that the butter has reached the right temperature for binding. Watch closely—once it starts to bubble, it’s ready for the next step.
- Add the marshmallows. Pour the marshmallows into the pan, stirring constantly with a wooden spoon. The marshmallows will begin to melt into a silky, golden liquid. Keep stirring until the mixture is completely smooth; any lumps will result in uneven texture.
- Introduce vanilla. Remove the pan from heat and stir in the vanilla extract. The aroma will fill the kitchen, signaling that the flavor base is ready. A teaspoon of vanilla is enough to coat the entire batch, so be generous but measured.
- Combine with Rice Krispies. Add the Rice Krispies to the saucepan, stirring gently until every grain is coated with the marshmallow‑butter mixture. The mixture should look like a golden, sticky batter. Let it sit for a minute to allow the cereal to absorb some moisture, which will improve the final texture.
- Optional mix‑ins. Fold in your chosen mix‑ins—chocolate chips, sprinkles, or nuts—until evenly distributed. This step is where you can get creative: for a chocolatey version, add a handful of chips; for a festive look, sprinkle rainbow sprinkles on top before the cookies set.
- Press and cool. Transfer the mixture to the prepared pan, using a spatula or the parchment overhang to press it firmly into a uniform layer. Let it cool at room temperature for 30 minutes until it hardens. Once set, lift the entire slab using the parchment overhang and place it on a cutting board.
- Cut and serve. Using a sharp knife, cut the slab into squares or rectangles. If you prefer round cookies, use a cookie cutter. Serve immediately for the best texture, or store in an airtight container for up to a week.
That’s it — you did it. But hold on, I’ve got a few more tricks that’ll take this to another level…
Insider Tricks for Flawless Results
The Temperature Rule Nobody Follows
The key to a perfect cookie is controlling the temperature of the butter and marshmallows. If the butter is too hot, it will burn; if it’s too cold, the marshmallows won’t melt properly. Aim for a gentle simmer—just enough to create a slight foam. This subtle cue ensures the mixture remains smooth and glossy, setting the stage for a flawless cookie.
Why Your Nose Knows Best
The aroma is your best indicator of progress. When the mixture starts to emit a sweet, caramel‑like scent, you’re right on track. If the smell becomes overly sweet or burnt, it’s a sign that the heat is too high or that the mixture is overcooked. Trust your nose; it’s more reliable than a stopwatch.
The 5‑Minute Rest That Changes Everything
After you press the mixture into the pan, let it rest for exactly five minutes before cutting. This short pause allows the marshmallow to set into a stable, chewy texture. Cutting too early results in sticky, uneven cookies, while waiting too long can make the mixture dry out. Five minutes is the sweet spot.
Pressing Technique for Even Squares
Use a flat-bottomed glass or a clean pan to press the mixture into the baking pan. The flat surface ensures even pressure, preventing one side from being thicker than the other. If you’re using a wooden spoon, press from the center outward to distribute the weight evenly.
Storing Secrets
To keep the cookies fresh, store them in an airtight container with a layer of parchment paper in between each layer. This prevents them from sticking together and maintains their crisp edges. For a quick pick‑up, you can also freeze the cookies; just thaw at room temperature and they’ll taste just as good.
Creative Twists and Variations
This recipe is a playground. Here are some of my favorite ways to switch things up:
Chocolate‑Covered Delight
After cutting the cookies, dip them in melted dark chocolate and let them set on parchment. The chocolate adds a rich, bittersweet layer that complements the sweet marshmallow base. Sprinkle a pinch of sea salt on top for a gourmet touch.
Nutty Crunch
Replace the vanilla with almond extract and fold in chopped pecans or walnuts. The nutty aroma pairs beautifully with the buttery base, creating a cookie that feels both indulgent and wholesome. Finish with a drizzle of honey for extra sweetness.
Tropical Twist
Swap the vanilla with a splash of coconut milk and add shredded coconut to the mix. The coconut adds a subtle tropical flavor and a pleasant chew. For a burst of freshness, sprinkle a few drops of lime zest on top before the cookies set.
Festive Sprinkles
Instead of rainbow sprinkles, use holiday‑themed confetti or metallic sugar dust. These add a playful sparkle and make the cookies perfect for celebrations. They also give a festive feel without altering the flavor.
Spiced Sensation
Add a pinch of cinnamon or nutmeg to the mixture for a warm, aromatic kick. The spices pair well with the vanilla and butter, creating a comforting, autumn‑like flavor. This version is especially good for fall gatherings.
Storing and Bringing It Back to Life
Fridge Storage
Keep the cookies in an airtight container at room temperature for up to 5 days. If you notice any moisture, add a sheet of parchment paper between layers to absorb excess dampness. The cookies will remain crisp and chewy for the entire period.
Freezer Friendly
Place the cookies on a parchment‑lined tray and freeze until solid, then transfer them to a freezer‑safe bag. They’ll keep for up to 3 months. When you’re ready to enjoy them, let them thaw at room temperature for 10 minutes before serving.
Best Reheating Method
To revive frozen cookies, wrap them in a damp paper towel and microwave on low for 10–15 seconds. The moisture will steam the cookies back to their original chewy texture. Alternatively, place them in a preheated oven at 300°F for 5 minutes to restore crispness.