The first time I attempted a no-bake cherry cheesecake, I was twenty-three, impatient, and armed with nothing but a plastic spoon and a dream. My roommate had dared me to whip up something that looked like it belonged on the cover of a glossy food magazine, using only what we could scrounge from our tragically understocked dorm kitchen. I laughed in her face, then promptly discovered that laughter does not, in fact, whip cream cheese into submission. What followed was a comedy of errors involving a melted stick of butter, a freezer that smelled faintly of last month’s fish sticks, and a can of cherry pie filling that exploded like a crimson firework across our linoleum floor. We ate the mess anyway, standing over the sink in the dark, and I still remember how the tangy-sweet bite made us both shut up mid-chew, eyes wide, like we’d stumbled onto some secret map to dessert nirvana. Fast-forward a decade, and I’ve refined that chaotic magic into the silkiest, most fool-proof no-bake cherry cheesecake you’ll ever meet—no explosions, no fish-stick aftertaste, just cloud-like filling and ruby fruit that tastes like July on a fork.
Picture this: it’s 9 p.m. on a sticky summer night, the kind where the air feels like warm honey on your skin and turning on the oven feels like a personal attack. You want dessert, but you also want to keep your sanity. You open the fridge, and there it is—your future masterpiece—resting like a secret jewel under a dome of plastic wrap. The crust is a buttery press-in affair that tastes like graham-cracker shortbread, the filling is pure velvet, and the cherry crown is so glossy you could check your lipstick in it. You slice through with a knife that glides like it’s cutting fog, and the filling holds its perfect wedge shape just long enough to hit the plate before it slumps into a creamy puddle that makes your knees weak. One bite and you get the snap of the crust, the cool tang of cream cheese brightened by a whisper of lemon, and then that burst of jammy cherry that floods your mouth like the finale of a fireworks show. I dare you to taste this and not go back for seconds; I’ve failed that challenge every single time.
Most recipes treat no-bake cheesecake like a box-mix afterthought—gelatin, Cool Whip, canned everything, blah. This version? We’re using real cream cheese whipped until it feels like satin, a cloud of softly whipped cream that we fold in like we’re handling a baby cloud, and a cherry topping that’s either the best canned stuff you can find or, if you’re feeling fancy, a quick stovetop compote that tastes like someone distilled a cherry pie into syrup form. The crust is where we get a little rebellious: brown sugar for deep molasses notes, a pinch of salt to make the buttery crunch sing, and just enough melted butter to hold everything together without turning it into a grease slick. Chill time is non-negotiable, but it’s hands-off, and the payoff is a slice that stands tall, cuts cleanly, and melts on your tongue like ice cream wearing a tuxedo.
Oh, and here’s the twist that’ll make your foodie heart skip: we’re sneaking in a whisper of almond extract in both the filling and the crust. Not enough to shout “marzipan!”, just enough to make people ask, “Wait, what is that?” It’s the aromatic equivalent of a wink across a crowded room. Stay with me here—this is worth it. Let me walk you through every single step—by the end, you’ll wonder how you ever made it any other way.
What Makes This Version Stand Out
Silkier Texture: We whip the cream separately and fold it in like a soufflé ninja, so the filling stays airy, not dense like a New York slice that’s been left in a taxi.
Real Ingredients Only: No gelatin, no pudding mix, no science-lab thickeners—just cream cheese, cream, sugar, and a kiss of lemon to brighten everything.
Speed Demon: Active time is under twenty minutes; the fridge does the heavy lifting while you binge your latest obsession.
Make-Ahead Hero: It actually tastes better after an overnight nap, so you can build it on a Tuesday and look like a dessert wizard on Friday.
Cherry on Top—Literally: We’re using the good canned filling, the one that’s more whole fruit than red goo, or a five-minute homemade compote if you’re showing off.
Crowd Gasps Guaranteed: I’ve brought this to potlucks where grown adults elbowed teenagers out of the line; one guy proposed to me (I said maybe).
No Oven, No Problem: Perfect for tiny dorm kitchens, summer heat waves, or when your oven is already occupied by a turkey the size of a Smart Car.
Alright, let’s break down exactly what goes into this masterpiece...
Inside the Ingredient List
The Flavor Base
Cream cheese is the diva here, and it demands to be at room temperature—think spreadable, not glacier. I always buy the full-fat bricks; the low-fat stuff behaves like that friend who says they’ll help you move and then shows up with one empty tote bag. You’ll need two of them, eight ounces each, and please, for the love of silky mouths everywhere, avoid the whipped tub variety; it’s full of air and fillers that collapse faster than my willpower at a sample sale. A quarter cup of powdered sugar sweetens without grit, and a teaspoon of real vanilla extract (not the imitation stuff that smells like a candle store) rounds the edges. The secret weapon is a mere eighth-teaspoon of almond extract; it’s the aromatic equivalent of candlelight and jazz records.
The Texture Crew
Heavy cream gets whipped to soft peaks that look like gentle ocean waves—stiff enough to hold a shape, soft enough to fold into the cream cheese without turning into butter. I use a metal bowl that’s been chilling in the freezer for ten minutes; cold equipment is like Spanx for whipped cream. A pinch of cream of tartar helps stabilize the peaks, but if you’re out, a squeeze of lemon juice does the trick. The graham-cracker crust team—crumbs, brown sugar, salt, and butter—gets pressed into the pan with the bottom of a measuring cup; think of it as aromatherapy with a cardio workout. Press firmly enough that the crumbs hold together, but not so hard you turn it into concrete.
The Unexpected Star
Lemon zest is the tiny yellow freckle that makes the whole filling taste like it’s wearing sunscreen on a Mediterranean vacation. You only need half a teaspoon, but run the microplane right over the sugar first; the citrus oils perfume the crystals like a subtle cologne. If cherries aren’t your jam (pun fully intended), swap in blueberry, raspberry, or even caramelized peaches, but promise me you’ll try cherry at least once—it’s the nostalgic flavor equivalent of a Saturday-morning cartoon marathon.
The Final Flourish
For the topping, I reach for the premium canned cherry pie filling that’s packed with whole fruit and less neon goo; look for labels that say “more fruit” or “extra cherries.” If you’re feeling domestic, simmer two cups of pitted fresh or frozen cherries with a quarter-cup of sugar and a splash of kirsch until they burst and turn syrupy—takes about eight minutes and makes your kitchen smell like a romance novel. Either way, wait until the cheesecake is fully set before spooning it on; otherwise the juices marble into the filling like a watercolor gone rogue.
Everything’s prepped? Good. Let's get into the real action...

The Method — Step by Step
- Start with the crust because it needs a quick chill to set. Blitz a sleeve and a half of graham crackers in a food processor until they look like sandy beach memories; you should have about one and a half cups. Tip them into a bowl with three tablespoons of brown sugar, a pinch of kosher salt, and six tablespoons of melted unsalted butter. Stir until every crumb is glossy and the mixture clumps like wet sandcastles. Press it into a nine-inch springform pan, working the crumbs halfway up the sides so you get that bakery-style tall edge. Use the flat bottom of a measuring cup to compact it evenly; if the crumbs stick to the cup, lay a square of parchment on top and press through—it’s like giving your crust a spa treatment.
- Slide the crust into the freezer for fifteen minutes while you pretend to tidy the kitchen but actually sneak a spoonful of cherry filling. This flash chill firms the butter so the crust doesn’t crumble like a cookie in a toddler’s fist when you pour in the filling later. If you’re in a sweltering kitchen, stick the pan in the fridge instead; we’re not trying to audition for a polar plunge. While that sets, wipe out the processor; you’ll use it again in a second, and crust bits in your filling are the culinary equivalent of finding a sock in your cereal.
- Whip the cream next because it needs to be fluffy and cold. Pour one cup of cold heavy cream into the chilled bowl, add a teaspoon of powdered sugar for stability, and beat on medium-high until soft peaks form—when you lift the beaters, the cream should curl over like a sleepy cat tail. Stop before you hit stiff peaks; we’re folding this into cream cheese, not making meringue hats. If you over-whip, you’ll get butter flecks and a texture that feels like chewing on a cloud that’s been left out in the sun. Scrape the whipped cream into a separate bowl and park it in the fridge; it’s about to become the marshmallowy soul of our cheesecake.
- Now the cream cheese ballet. In the same mixer bowl—no need to wash it—beat the two softened bricks on medium speed for one full minute. You’re looking for a texture that resembles smooth frosting, no lumps, no rogue chunks that feel like little cheese icebergs. Add the remaining three-quarters cup of powdered sugar, the vanilla, almond extract, and lemon zest. Beat again until the mixture lightens in color and looks like satin pillowcases; scrape the bowl once to evict any stubborn pockets of sugar. The scent should hit you like a bakery candle that actually tastes good.
- Time to marry the clouds. Retrieve your whipped cream and add a heaping spoonful to the cream cheese mixture. Stir vigorously—this sacrifices the first bit of air to loosen the base so the rest folds in like a gentle dream. Add half the remaining whipped cream, fold with a rubber spatula using slow figure-eights, rotating the bowl as you go. When only a few streaks remain, add the final cream and fold until no white ribbons remain; the filling should look like fluffy mousse and fall off the spatula in slow motion. If you see specks of unmixed cream cheese, press them gently against the side of the bowl to smear them into submission.
- Retrieve the crust from the freezer—it should feel firm and smell like buttery childhood. Pour the filling in one confident swoop, then tap the pan gently on the counter to dislodge any sneaky air bubbles. Smooth the top with an offset spatula or the back of a spoon, creating a gentle swirl that looks like a zen garden rake passed through. If you’re a perfectionist, warm the spatula under hot water, dry it, and glide it across the surface for a glassy finish. Don’t worry if it’s not Instagram-ready; the cherry topping is your edible filter.
- Cover the pan with plastic wrap, but tent it so it doesn’t stick to the filling and leave sad polka dots. Chill at least four hours, though overnight is the gold standard; the cheesecake needs time for the fat to crystallize and the flavors to meld into a unified choir. If you’re in a desert-dry fridge, place a small cup of water nearby to keep the surface from forming a slight skin—think of it as a spa humidifier for your cake. Resist poking it every hour; I’ve installed a clear fridge shelf just so I can admire without violating the sanctity of the chill.
- Before serving, run a thin knife around the inside edge of the springform to release any clingy bits, then undo the clasp slowly—like unwrapping a gift, not ripping open a bag of chips. The cheesecake should stand proud with clean sides; if a few crumbs stick, press them gently back into place with a fingertip. Spoon the cherry topping into the center, nudging it just to the edge so a halo of white peeks through—this frames the fruit like a mat around a painting. Slice with a hot knife (dip in hot water, wipe dry) for café-worthy wedges that don’t drag cherry streaks through the filling.
- Serve on chilled plates if you’re fancy, or hand them out like dessert frisbees at a potluck if you’re not. Either way, watch for the moment people take a bite and their eyes close involuntarily—that’s the universal signal that you’ve nailed it. Store any leftovers (ha!) covered in the fridge for up to five days, though I’ve never seen it last past breakfast. That’s it—you did it. But hold on, I’ve got a few more tricks that’ll take this to another level...
Insider Tricks for Flawless Results
The Temperature Rule Nobody Follows
I’ll be honest—every time I’ve rushed this and used cold cream cheese, I’ve ended up with a lumpy filling that looks like cottage cheese in a prom dress. Pull the bricks out at least two hours before you start; if you’re in a arctic apartment, cube them and park the bowl near (not on) a warm stovetop. Room-temp cheese blends seamlessly, trapping air instead of tiny icebergs that refuse to play nice. And while we’re at it, chill your bowl before whipping cream—temperature whiplash is the secret to clouds that last longer than your last relationship.
Why Your Nose Knows Best
When the crust is perfectly toasted in the freezer (yes, toasted—cold can toast if you believe hard enough), it will smell like buttery graham and caramel. If it smells like raw crumbs, give it five more minutes of chill; if it smells like a movie-theater lobby, you’ve nailed the Maillard reaction without turning on the oven. Trust the aroma over the clock; fridges vary like snowflakes, but your nose is calibrated to delicious.
The 5-Minute Rest That Changes Everything
After folding in the cream, let the filling sit for five minutes before pouring. This brief pause allows any tiny air bubbles to rise and pop, so your finished cheesecake looks as smooth as a lake at dawn. Skim off any foam that collects on top with a spoon; it’s a tiny step that separates amateur hour from pastry-chef poise. A friend tried skipping this once—let’s just say her cheesecake looked like it had acne.
Creative Twists and Variations
This recipe is a playground. Here are some of my favorite ways to switch things up:
Chocolate Cherry Bomb
Swap half the graham crackers for crushed chocolate wafer cookies and add two tablespoons of cocoa powder to the crust. Fold mini chocolate chips into the filling and top with cherries macerated in kirsch. It’s Black Forest in cheesecake form, and it’s the reason my cousin requests her birthday dessert in February.
Lemon Raspberry Cloud
Replace almond extract with lemon oil, fold in a spoonful of lemon curd for extra sunshine, and crown with fresh raspberries instead of cherries. The tart berries pop against the creamy backdrop like fireworks over a lake. If you’ve ever struggled with balancing sweet and tangy, you’re not alone—and I’ve got the fix.
Salted Caramel Apple
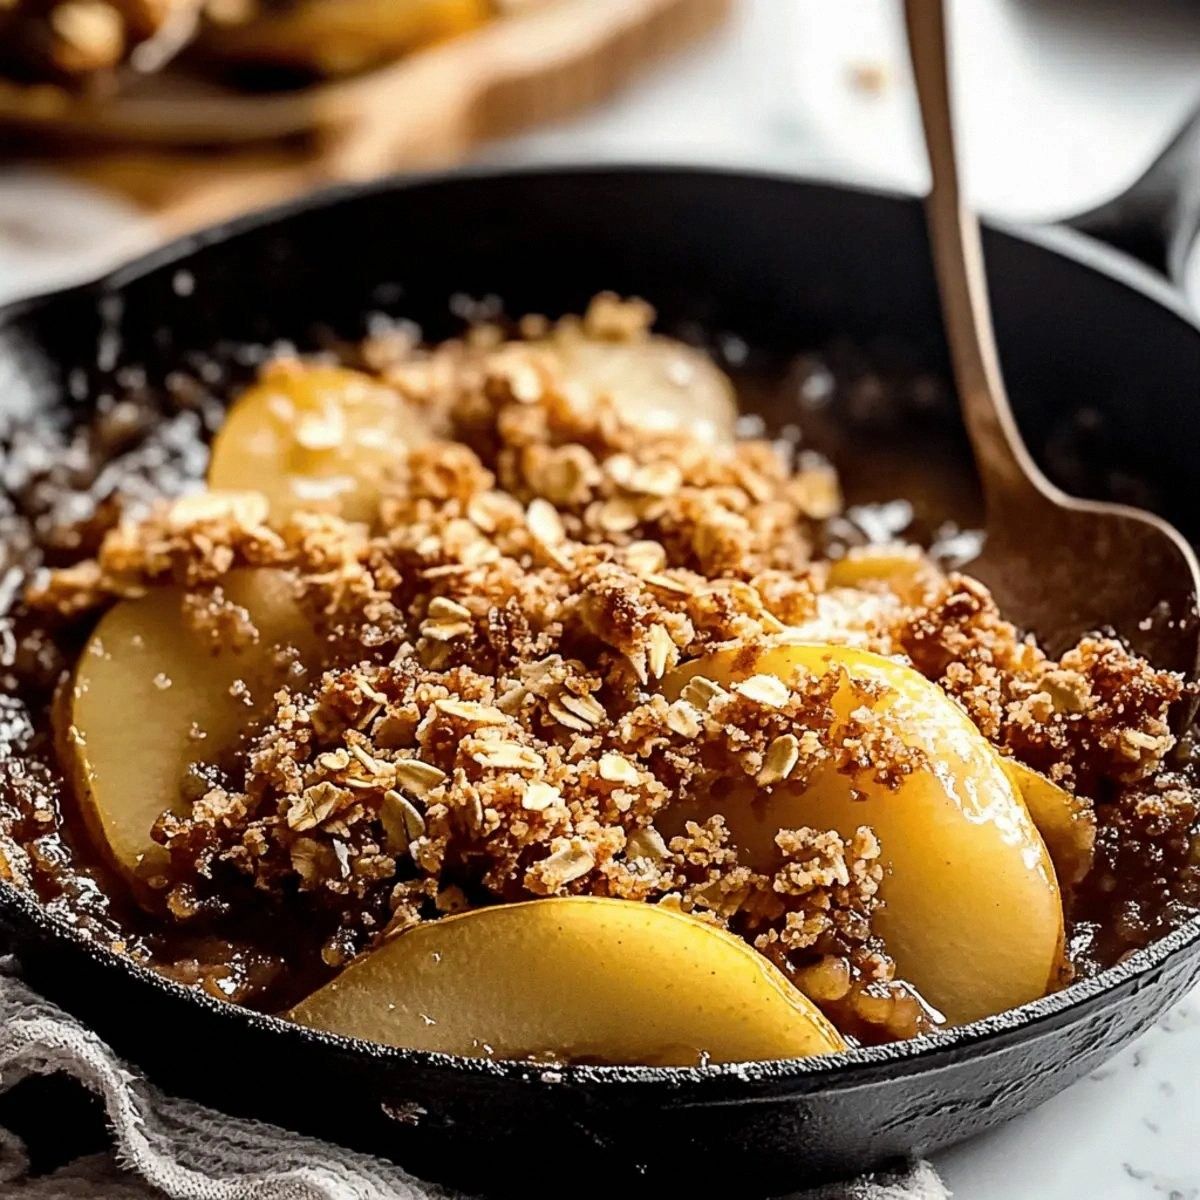
Subdued autumn vibes: add a pinch of cinnamon to the crust, swirl store-bought caramel into the filling, and top with sautéed apple slices kissed with sea salt. Serve with a mug of hot cider and prepare for hugs.
Tropical Escape
Beat a tablespoon of coconut cream into the filling and fold in toasted coconut flakes. Top with diced mango and passionfruit pulp for a sunset vibe that makes January feel like July. Picture yourself pulling this out of the fridge, the whole kitchen smelling like a beach vacation.
Mocha Madness
Dissolve a teaspoon of instant espresso powder in a tablespoon of hot water, cool, and beat it into the cream cheese. Use chocolate cookie crumbs for the crust and crown with coffee-soaked cherries. It’s the adult version of those coffee-candy toffees, and it pairs dangerously well with an after-dinner glass of Kahlúa.
Peanut Butter Jelly Time
Beat a third-cup of creamy peanut butter into the cream cheese, reduce the powdered sugar slightly, and top with grape or strawberry pie filling. The nostalgic flavor will slam you back to third-grade lunchboxes, but in a way that makes you feel sophisticated, not sticky.
Storing and Bringing It Back to Life
Fridge Storage
Once sliced, press plastic wrap directly against the cut surface to prevent the filling from absorbing fridge odors—no one wants a cheesecake that tastes like leftover pizza. Kept this way, it stays impeccable for up to five days, though the crust will soften slightly after day three. If you’re a texture purist, eat the edges first; they stay crisp longest.
Freezer Friendly
Wrap the whole cheesecake (without cherry topping) in a double layer of plastic, then foil, and freeze for up to two months. Thaw overnight in the fridge, then add fresh or canned fruit before serving. The texture stays remarkably intact because we haven’t messed with gelatin; it’s like hitting pause on perfection.
Best Reheating Method
Okay, there’s no actual reheating—this is a chill dessert—but if you’ve frozen individual slices, let them sit at room temp for ten minutes before serving; the filling softens to that ideal silkiness. Add a tiny splash of water to any leftover cherry topping and microwave ten seconds to loosen the syrup; it steams back to glossy life like it’s fresh from the can.